| Table of Contents |
|---|
Registrar Module Features
| Register | Renew | Transfer | DNS Management | Email Forwarding | ID Protection | EPP Code | Pricing Import | Date Sync |
|---|---|---|---|---|---|---|---|---|
YES | YES | YES | YES | NOT YET | NOT YET | YES | YES | YES |
*Orange statuses mean that the feature is supported but not controlled through the Domain Manager
Installing OVH Domains
- Visit [Packages] > [Domain Options] > [TLDs] > Registrars.
- Click the "Install" button within the Internet.bs module listing.
| Option | Description |
|---|---|
| API Key | Enter the API Key provided by InternetBS. |
| Passworrd | Your account password |
| Sandbox | Check this box to enable Sandbox mode. |
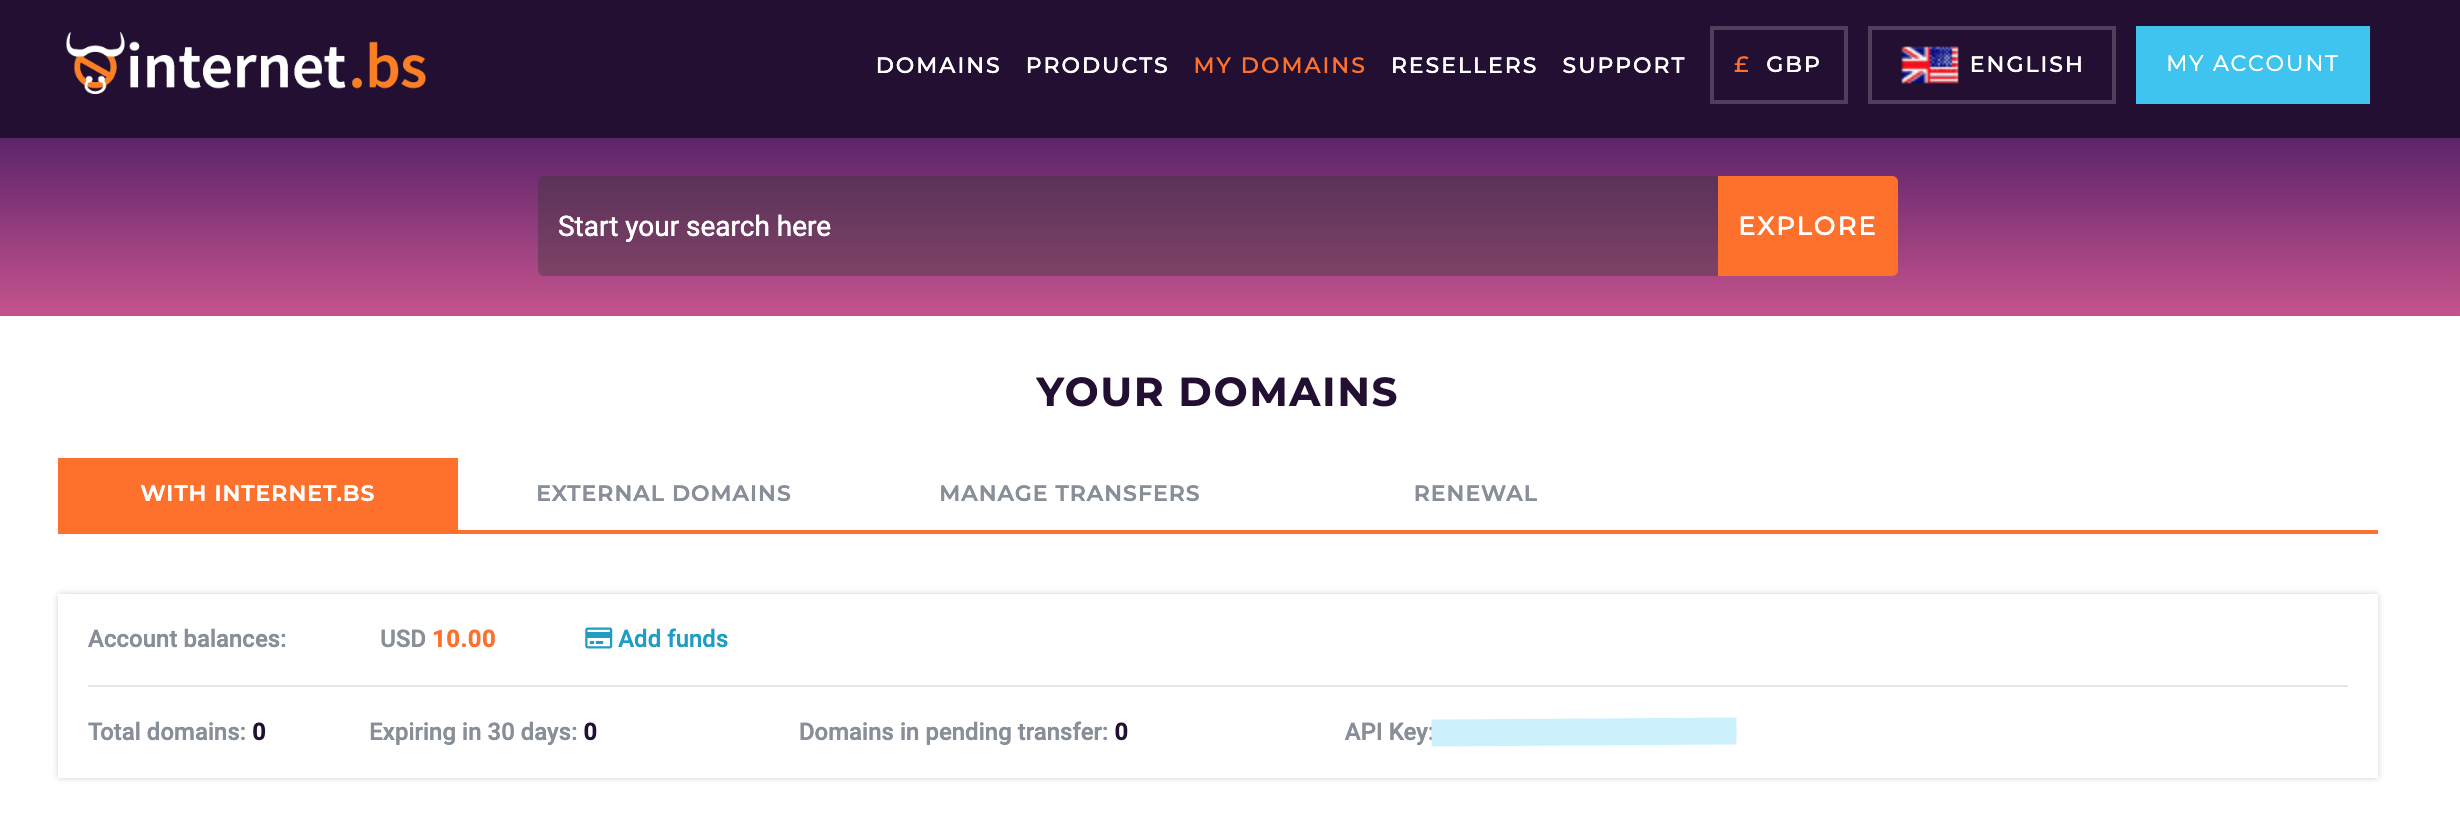
To get your Internet.bs API Key please go to My Account > Get my API Key.
Enabling TLDs
Firstly, change the module for the default TLDs (.org, .net, .com) to set them to Internet.bs, on the dropdown simply select Internet.bs:
Afterwards, enable the TLDs, tick the boxes and at the bottom change status to Enable and hit submit.
Importing TLDs
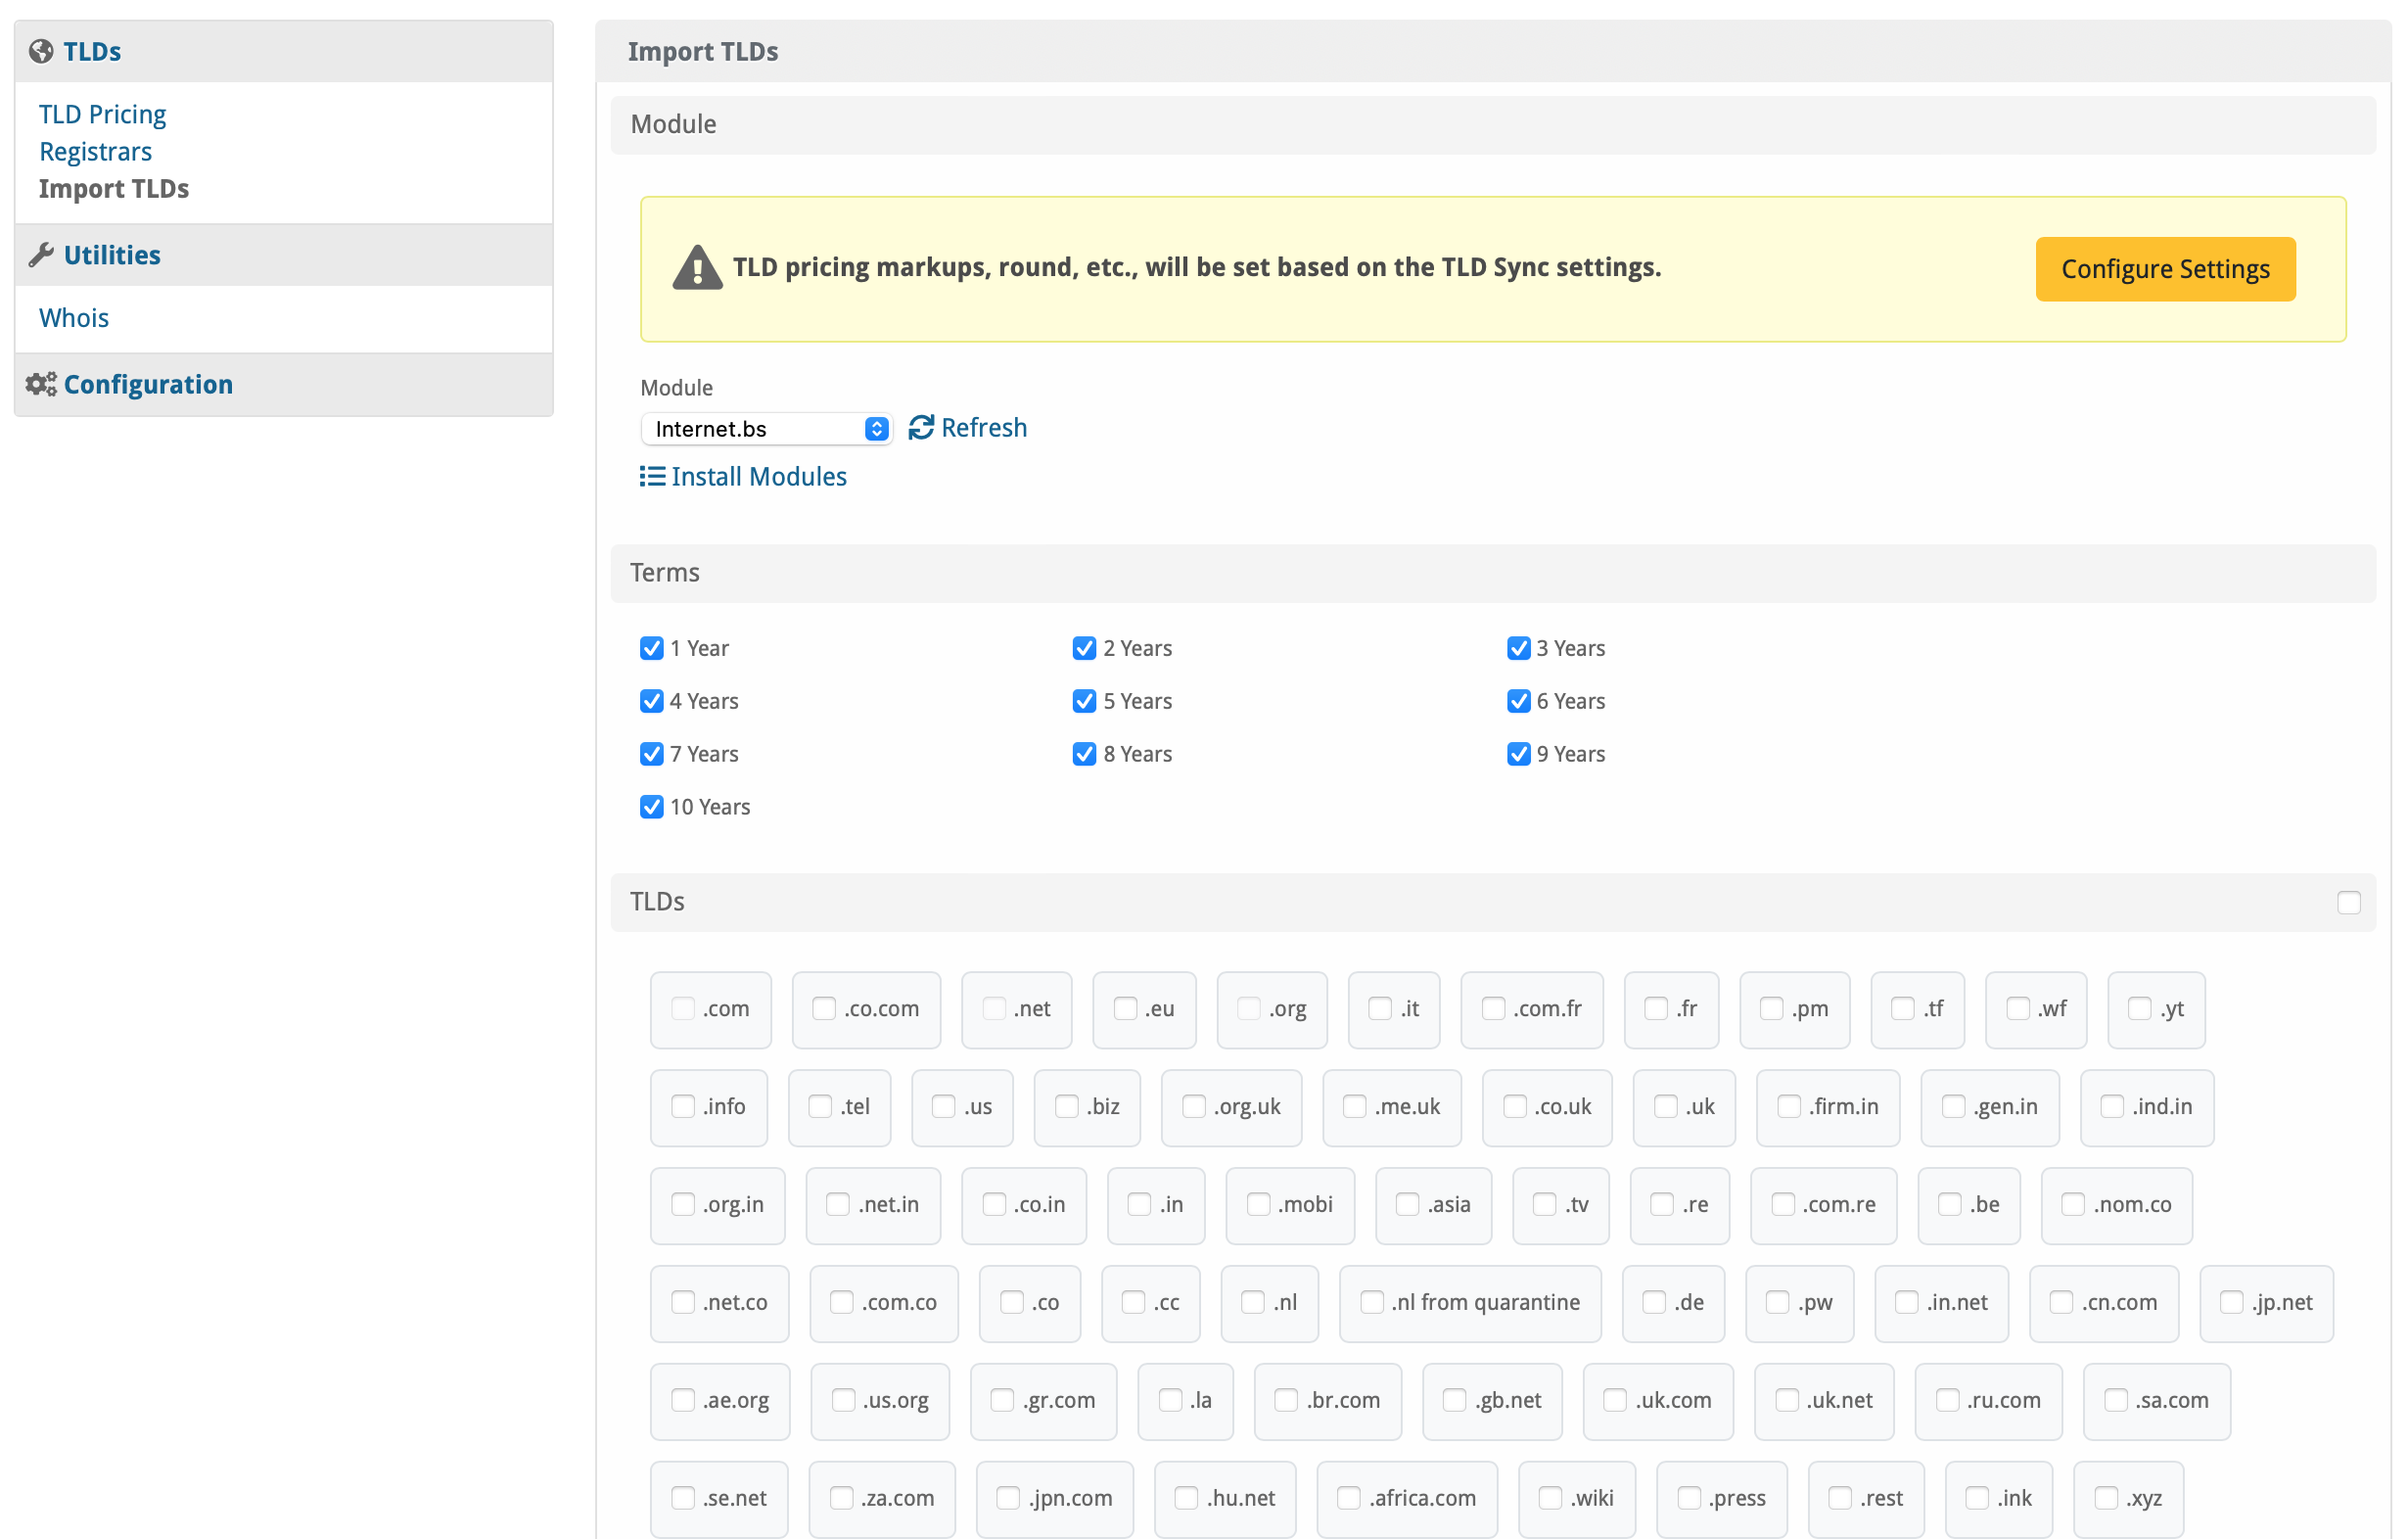
On the left hand side, select Import TLDs, you will be presented with the following:
Select Internet.bs from the modules, feel free to configutre the settings for price markups, etc.
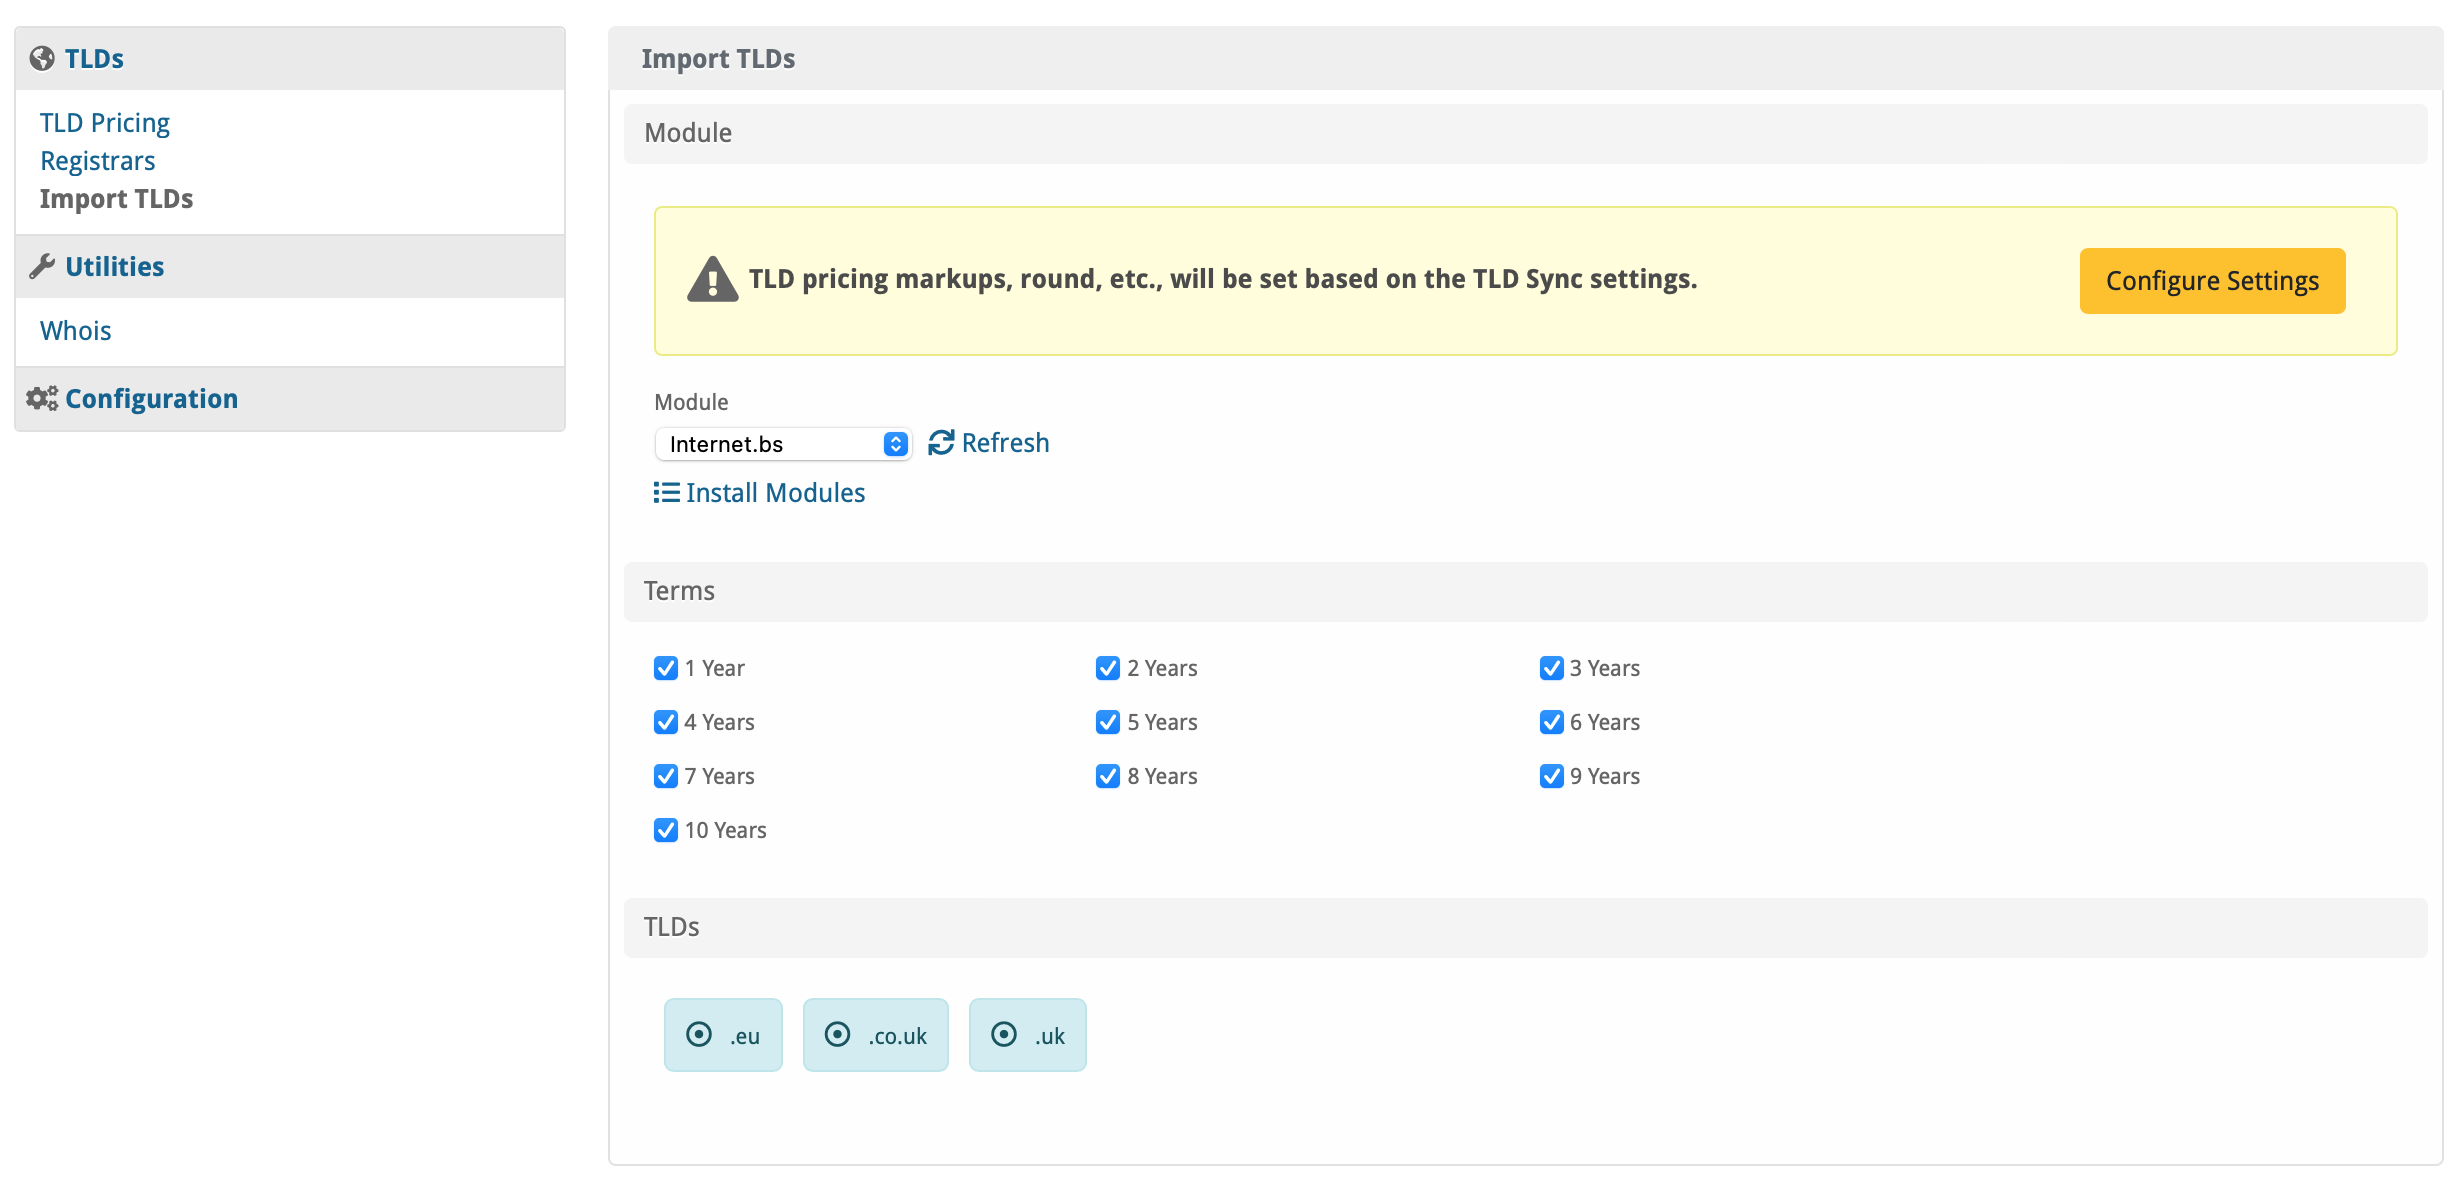
Select the TLDs to import over, you'll see something like this:
Creating Packages
Welcome Email
The "Tags" section describes tags that may be used in the welcome email. The welcome email content is inserted into the "Service Creation" email template under [Settings] > [Company] > [Emails] > Service Creation. Only details unique to this service should be entered into the welcome email section for the package.
Sample Email
This sample email could be used in the Package Welcome Email section to help you get started. Be sure to enter content for your welcome email in both the HTML and Text sections.
Your new domain is being processed and will be registered soon!

Domain: {service.domain}

Thank you for your business!


