| Table of Contents |
|---|
Installing DirectAdmin
- Visit [Settings] > [Company] > [Modules] > Available.
- Click the "Install" button within the DirectAdmin module listing.
When the module is installed, it should automatically load the "Manage" screen for the module. You can get back here any time by visiting [Settings] > [Company] > [Modules] > Installed and by clicking the "Manage" button for the module.
DirectAdmin Overview
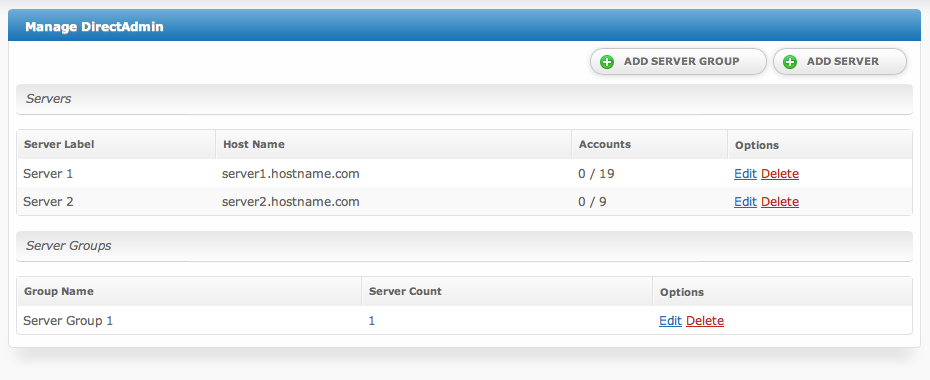
The "Manage" screen displays an overview of all of your DirectAdmin servers and server groups, and lists all servers and server groups that are configured for DirectAdmin.
Adding a DirectAdmin Server
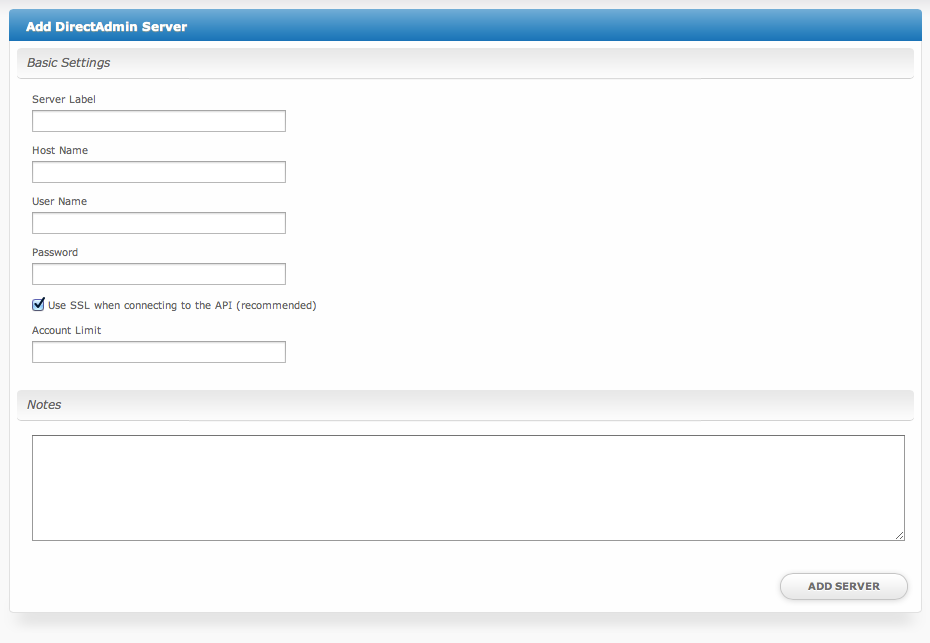
- From the "Manage" screen, click the "Add Server" button.
- Fill out the following options and click the "Add Server" button:
| Option | Details |
|---|---|
| Server Label | A friendly name for this server, i.e. "Server 1". |
| Host Name | The hostname of your DirectAdmin server, i.e. "server1.hostname.com". |
| User Name | The username for your DirectAdmin root or reseller user. |
| Password | The password associated with your DirectAdmin root or reseller user. |
| Use SSL... | Select this option to send API requests over SSL (recommended). |
| Account Limit | The maximum number of DirectAdmin accounts that should be created. Leave blank for unlimited. |
| Notes | Any internal notes pertaining to this server. |
Adding a Server Group
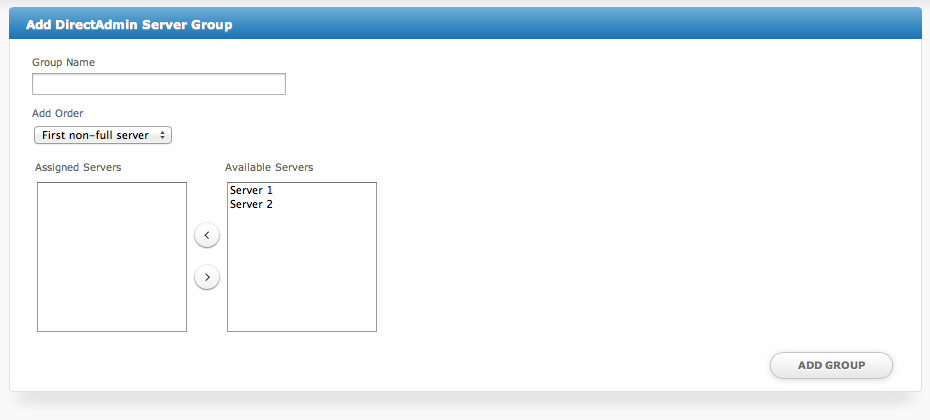
- From the "Manage" screen, click the "Add Server Group" button.
- Fill out the following options and click the "Add Group" button:
| Option | Details |
|---|---|
| Group Name | A friendly name for this server group. |
| Add Order | Choose how servers in this group will be selected for provisioning. |
| Assigned Servers | Select servers under "Available Servers" and click to move them to the left column to add them to the group. |
Welcome Email
When creating or editing a package that uses this module, the following tags will be available:
| Tags | Description | Notes |
|---|---|---|
| {module.host_name} | The host name of the server that the service was provisioned on | e.g. "domain.com" |
| {module.name_servers} | An array of available name servers for this module | Array elements must be looped over in the email template. See below for an example. |
| {package.type} | The package meta type | e.g. "standard", "user", "reseller", etc. |
| {package.package} | The package meta package name | e.g. "Bronze" |
| {package.ip} | The package meta IP address | |
| {service.direct_admin_username} | The service field for the DirectAdmin account username | |
| {service.direct_admin_password} | The service field for the DirectAdmin account password | |
| {service.direct_admin_domain} | The service field for the DirectAdmin domain | e.g. "domain.com" |
| {service.direct_admin_ip} | The service field for the DirectAdmin IP address | e.g. "shared", "assign", or an IP address |
| {service.direct_admin_email} | The service field for the DirectAdmin email address |
Displaying Name Servers in the Welcome Email
The {module.name_servers} tag must be iterated over to display the name servers. Email tag usage is elaborated upon on the Customizing Emails page.
Consider an example where the module has two name servers set, named "ns1.domain.com" and "ns2.domain.com". The following can be added to the email template to output the name servers:
{% for name_server in module.name_servers %}
Name server: {name_server}{% endfor %}
The welcome email will display this as:
Name server: ns1.domain.com
Name server: ns2.domain.com