| Table of Contents |
|---|
About cPanel
cPanel/WHM is a popular and widely used web hosting control panel. Learn more about cPanel/WHM on their website at http://www.cpanel.net/.
Supported Features
| Create | Cancel | Suspend | Unsuspend | Management | Config Options |
|---|---|---|---|---|---|
| YES | YES | YES | YES | YES | NO |
Management Features
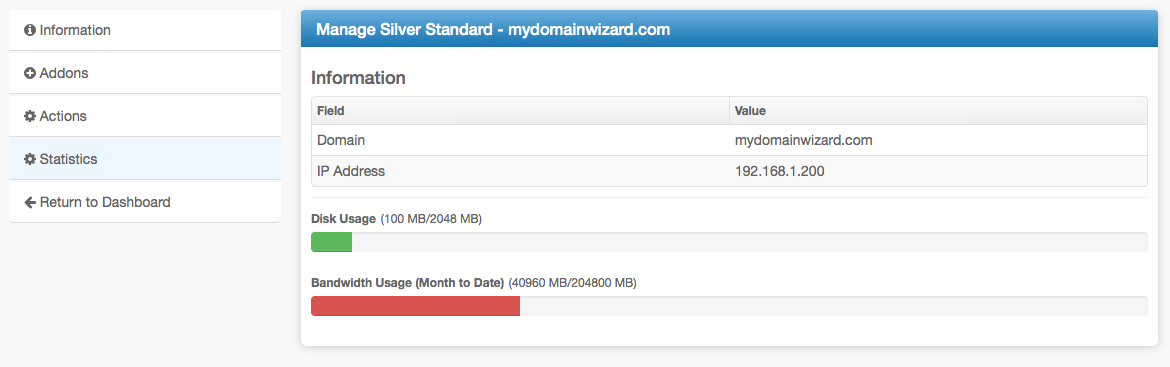
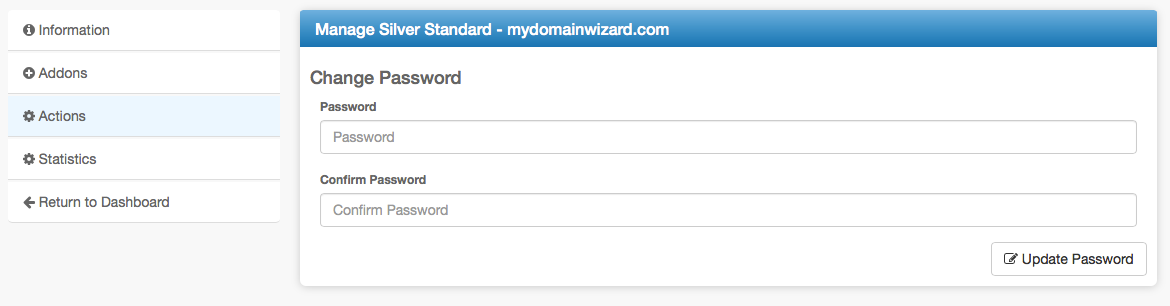
This module supports the following management features within the client area:
- Change cPanel Password
- View Disk and Bandwidth usage
Installing cPanel
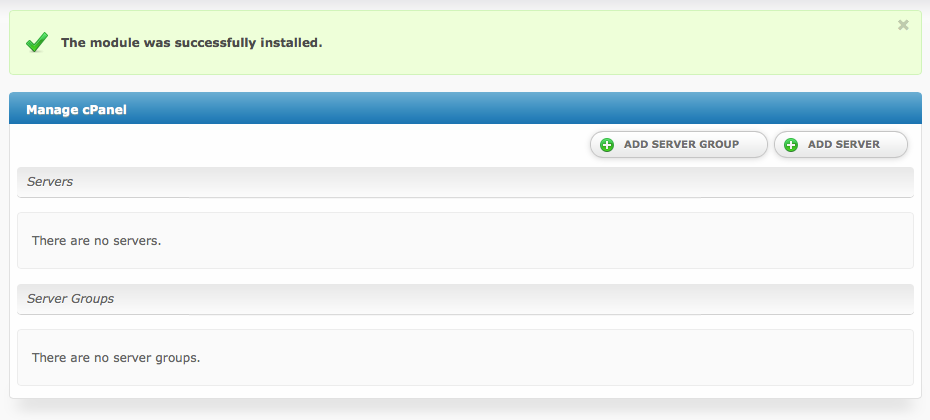
To install the cPanel module, visit [Settings] > [Company] > [Modules] > Available, and click the "Install" button for cPanel.

A message will be displayed, indicating that the module was successfully installed. Then click the "Add Server" button.
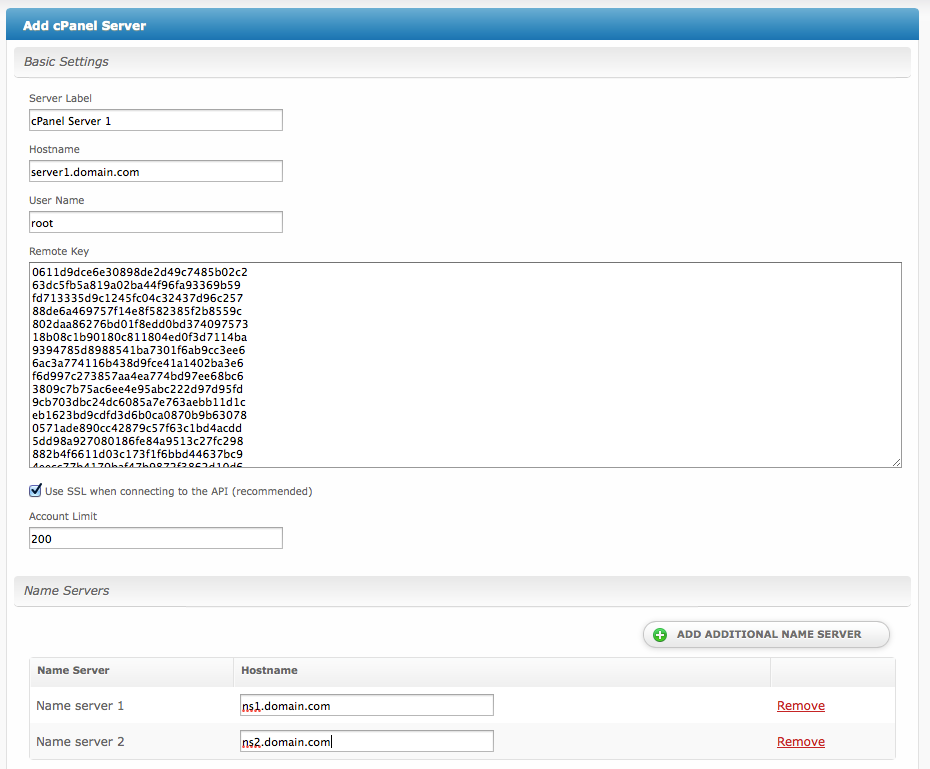
Enter the details for your cPanel/WHM server.
| Field Name | Description |
|---|---|
| Server Label | Enter a label for this cPanel/WHM server, it can be anything you like. |
| Hostname | Enter the FQDN hostname for your cPanel/WHM server, ie "server1.domain.com". |
| User Name | Enter your WHM username. This is the username you would log into WHM with. |
| Remote Key | Enter your WHM server remote key. This can be obtained in WHM under "Setup Remote Access Key". |
| Use SSL when connecting to the API | Check this option to use SSL for all API requests to your WHM server. This is highly recommended. |
| Account Limit | Enter the maximum number of accounts that should be added to this cPanel/WHM server. |
| Name Servers | Enter the name servers that should be used for this server. These will be available to the package welcome email to the client. |
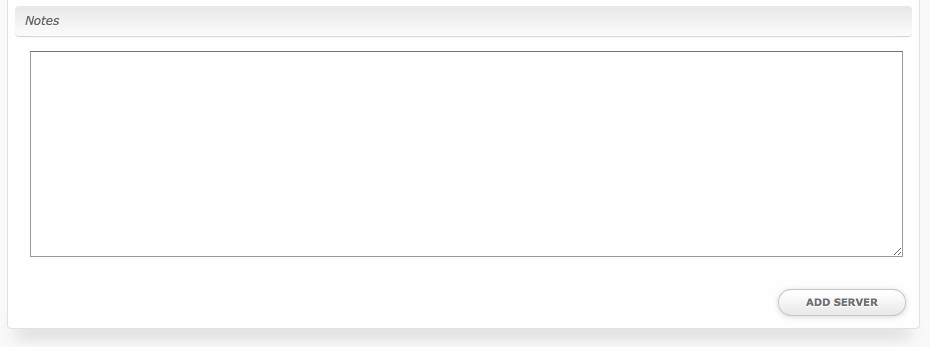
| Notes | Enter any notes that pertain to this server for future reference. |
After filling out these options, click "Add Server" to add your cPanel/WHM server.
Server Groups
Server groups are useful for categorizing cPanel servers. When creating a Package, a specific server, or a server group may be selected for provisioning. Blesta will automatically select a cPanel server to provision with when a server group is chosen.
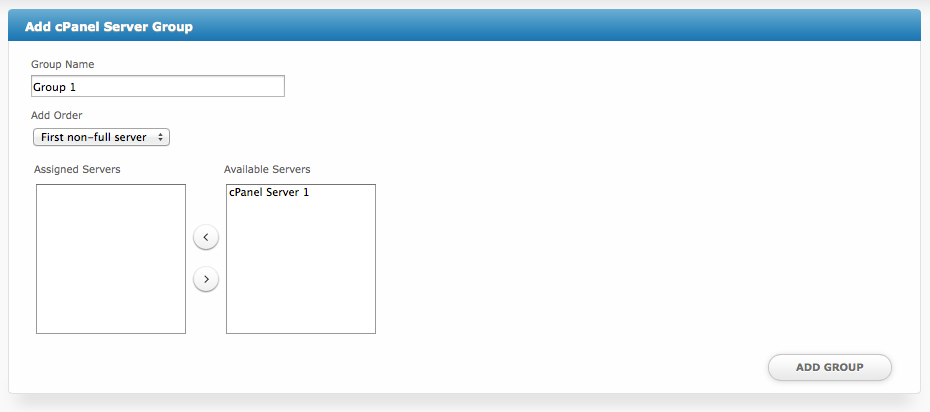
To add a server group, from the cPanel overview at [Settings] > [Company] > [Modules] > cPanel, click "Add Server Group", then enter the details.
| Option | Details |
|---|---|
| Group Name | Enter the name for this server group. |
| Add Order | Choose how servers in this group will be selected for provisioning. Currently, first non-full server is the only add order. |
| Assigned Servers | Select servers under "Available Servers" and click to move them to the left column to add them to the group. |
Welcome Email
When creating or editing a package that uses this module, the following tags will be available:
| Tags | Description | Notes |
|---|---|---|
| {module.host_name} | The host name of the server that the service was provisioned on | e.g. "domain.com" |
| {module.name_servers} | An array of available name servers for this module | Array elements must be looped over in the email template. See below for an example. |
| {package.type} | The package meta type | e.g. "standard", "user", "reseller", etc. |
| {package.package} | The package meta package name | e.g. "Bronze" |
| {package.acl} | The package meta access control list | |
| {service.cpanel_username} | The service field for the cPanel account username | |
| {service.cpanel_password} | The service field for the cPanel account password | |
| {service.cpanel_domain} | The service field for the cPanel domain | e.g. "domain.com" |
Displaying Name Servers in the Welcome Email
The {module.name_servers} tag must be iterated over to display the name servers. Email tag usage is elaborated upon on the Customizing Emails page.
Consider an example where the module has two name servers set, named "ns1.domain.com" and "ns2.domain.com". The following can be added to the email template to output the name servers:
{% for name_server in module.name_servers %}
Name server: {name_server}{% endfor %}
The welcome email will display this as:
Name server: ns1.domain.com
Name server: ns2.domain.com
Sample Email
This sample email could be used in the Package Welcome Email section to help you get started:
Your cPanel account is now active, details below:

Domain: {service.cpanel_domain}
Username: {service.cpanel_username}
Password: {service.cpanel_password}

To log into cPanel please visit https://{module.host_name}:2083.
Please update your name servers as soon as possible to the following:

{% for name_server in module.name_servers %}
Name server: {name_server}{% endfor %}

Thank you for your business!
Moving cPanel Accounts
If you need to move one or more cPanel accounts to a new or different server, follow these steps:
- Use the copy account feature in WHM to move the account to the new server.
- Make sure the new server has been added to the module under Settings > Company > Modules > cPanel and that the new server and the old server are in the same server group.
- Update your packages so that they are using this server group if they are not already.
- Click to "Manage" each affected service, and an option should appear to change the server to another server in the same server group. This option will only appear if the packages are set up to use a server group rather than a specific server.
- Repeat step 3 until all affected cPanel accounts have been updated to the new server.
- You may remove the old server from the server group, but you should leave it in the module.
- You may update the packages to use the new server specifically, rather than the group if you wish. This will remove the option for changing the server when managing a service, but it will remain attached to the correct server.