| Table of Contents |
|---|
Supported Features
| Create | Cancel | Suspend | Unsuspend | Management |
|---|---|---|---|---|
| YES | YES | YES | YES | YES |
Management Features
This module supports the following management features within the client area:
- View Server Status
- Restart Minecraft Server
- Stop Minecraft Server
- Start Minecraft Server
- Set Server to Day Time
- Set Server to Night Time
- Set Server Name
- View Connected Players
- Kick Players
- Server Console
- Log in to Multicraft
Installing Multicraft
To install the Multicraft module, visit [Settings] > [Company] > [Modules] > Available, and click the "Install" button for Multicraft.

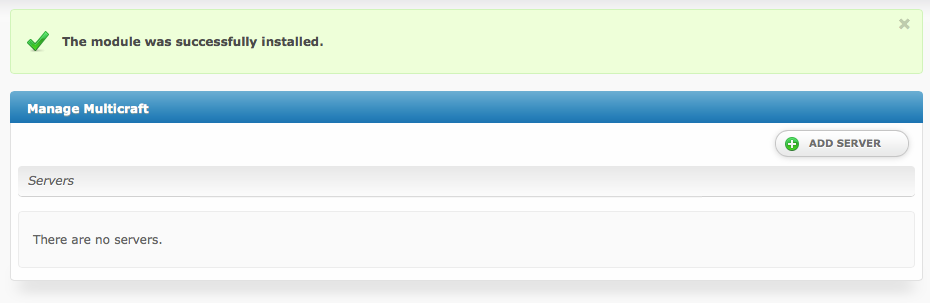
A message will be displayed, indicating that the module was successfully installed. Then click the "Add Server" button.
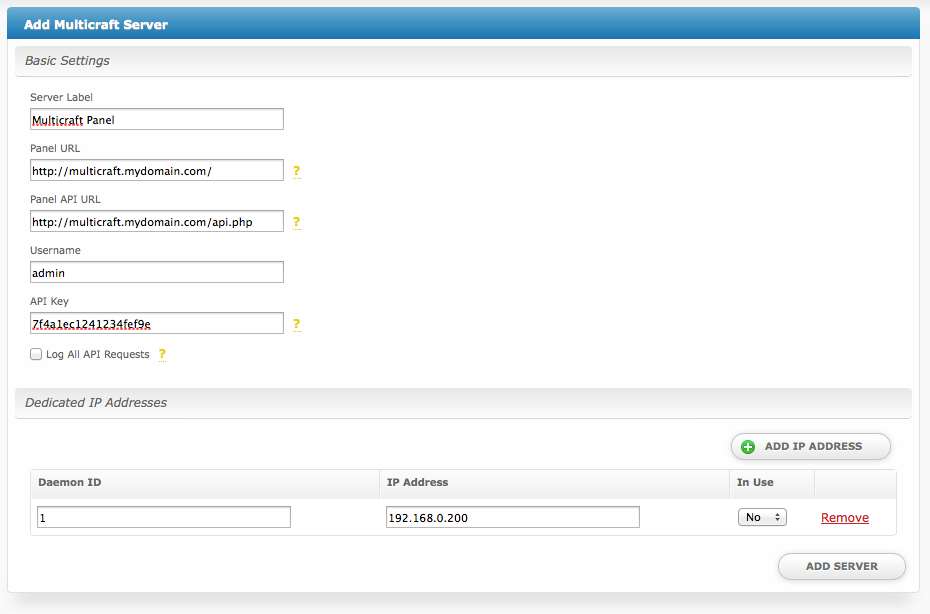
Enter the details for your Multicraft master server.
| Field Name | Description |
|---|---|
| Server Label | Enter a label for this Multicraft master server, it can be anything you like. |
| Panel URL | Enter the full URL to your Multicraft Panel, ie "http://multicraft.mydomain.com/". This is where you login. |
| Panel API URL | Enter the full path to your api.php, usually the Panel URL with /api.php appended, ie "http://multicraft.mydomain.com/api.php". |
| Username | Enter your Multicraft username. |
| API Key | Enter the API key for Multicraft. This can be found in Multicraft under Users, by clicking on your username. |
| Log All API Requests | It's recommended that this remain unchecked as management features make frequent API calls. Enable for debugging. |
| Dedicated IP Addresses | You can add dedicated IP addresses here (optional), just fill out the following
|
After filling out these options, click "Add Server" to add your Multicraft master server.
Most people will only have 1 Multicraft master server listed here. By specifying the Daemon ID via a configurable option, you can set which server Minecraft servers will be created on.