| Table of Contents |
|---|
Installing the Universal Module
- Visit [Settings] > [Company] > [Modules] > Available.
- Click the "Install" button within the Universal Module module listing.
When the module is installed, it should automatically load the "Manage" screen for the module. You can get back here any time by visiting [Settings] > [Company] > [Modules] > Installed and by clicking the "Manage" button for the module.
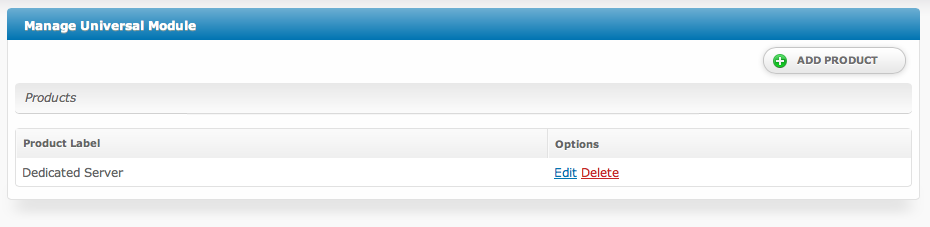
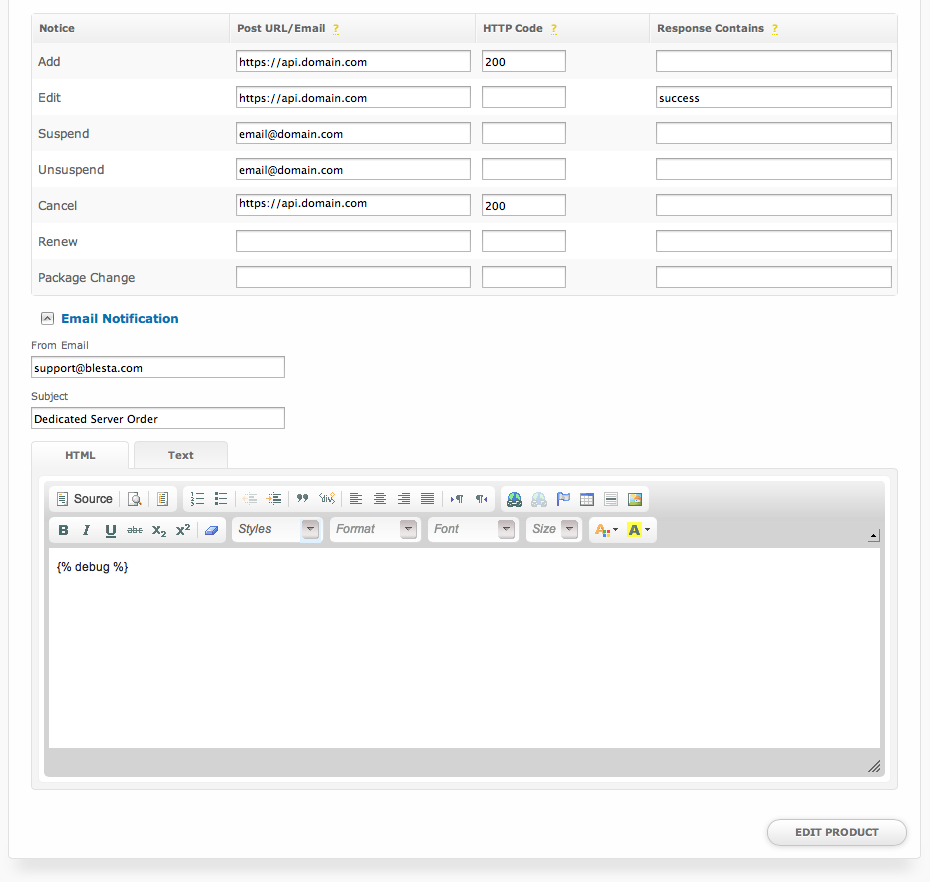
Adding a Product
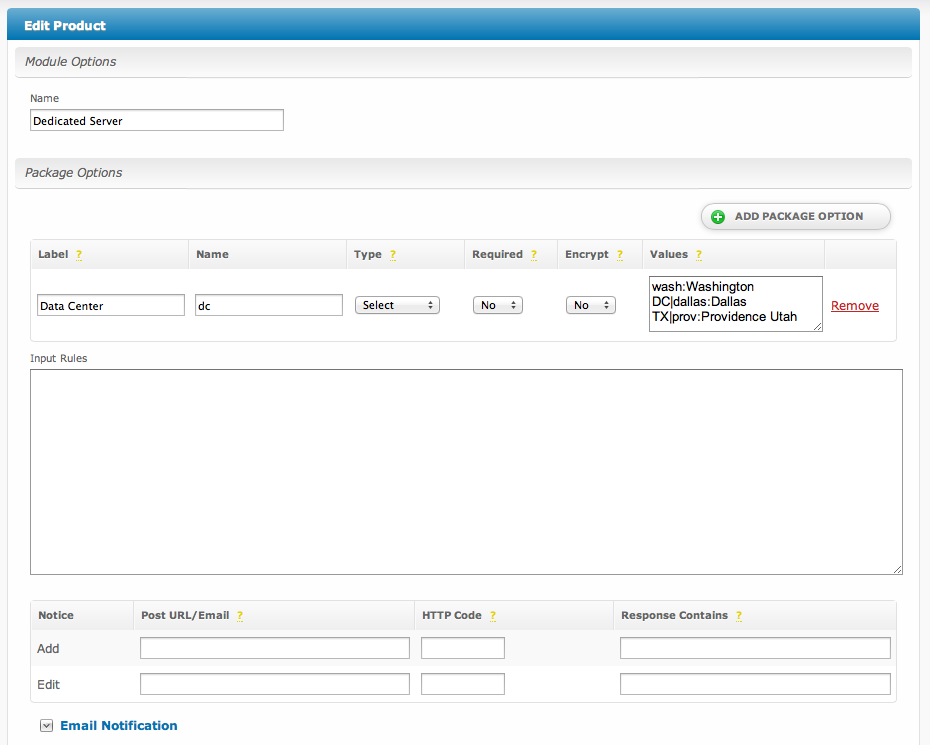

Values Format
The values field is a serialized list of field data in the format of name:value, delimited by the | (pipe) character. The name is the value stored for the field and value is the value displayed. For example, if you would like to request a list of check boxes of various flavors of ice cream you might enter: vanilla:Vanilla|chocolate:Chocolate|strawberry:Strawberry|rocky_road:Rocky Road
Using ':' or '|' in your fields
Both : and | are reserved characters, so if you'd like to use them in your value entry you must escape those characters with a \ (back slash).
Input Rules
Input rules are a JSON encoded associative array of input validation rules. They allow you to specify how each field should be validated against errors on input. For additional details on input rules see Error Checking. Let's take a look at an example:
{"service_field_1":{
	"valid":{
		"rule":"isEmpty",
		"negate":true,
		"message":"Service Field 1 must not be empty"
	}
}}
In the above example we're validating the service_field_1 field using the isEmpty rule and negating it using the negate attribute. This ensures that the service_field_1 field is not empty when submitted. If the rule validation fails (service_field_1 is empty) the message we defined using the message attribute will be displayed to the user.