| Table of Contents |
|---|
Gateways are separated into two categories: Merchant and Non-Merchant. Typically, Merchant gateways require a merchant account and payment is all handled seamlessly through Blesta. Non-Merchant gateways usually do not require a merchant account and payment is usually processed on the gateways website.
To use a gateway, it first must be installed under [Settings] > [System] > [Payment Gateways] > Available. Once installed, the gateway can be configured and used. It will then be accessible under [Settings] > [System] > [Payment Gateways] > Installed by clicking the "Manage" button.
Merchant Gateways
Authorize.net
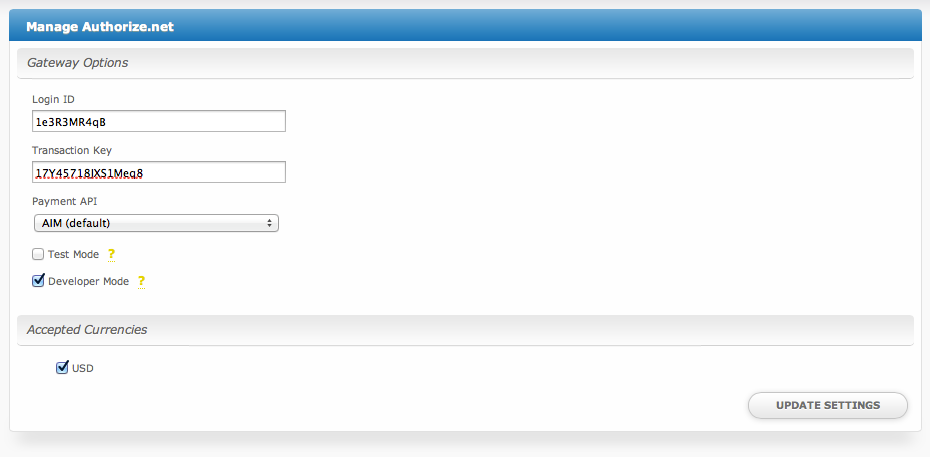
Gateway Options
- Login ID
This is the Login ID provided by Authorize.net or your merchant account provider.
- Transaction Key
This is the Transaction Key provided by Authorize.net or your merchant account provider.
- Payment API
AIM (default) stores credit card data encrypted within Blesta.
CIM stores credit card data with the gateway, and not within Blesta.
- Test Mode
Select this option to run transactions in Test Mode. This method is only supported if the Payment API is AIM.
- Developer Mode
Selecting this option posts transactions to the developer environment. You must have a developer account to use this option.
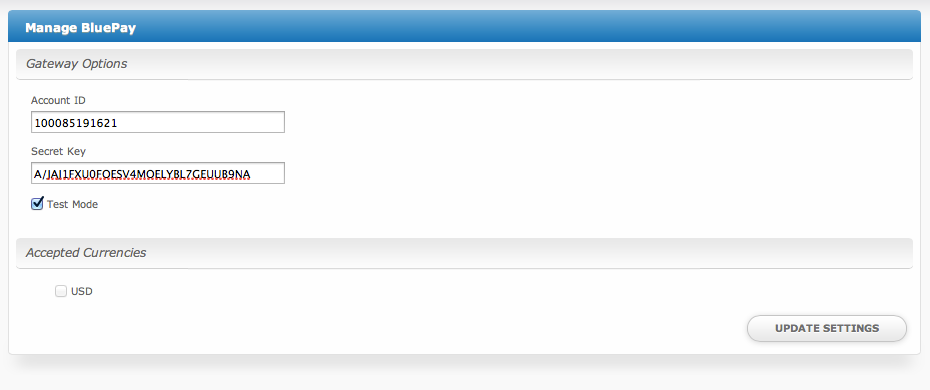
BluePay
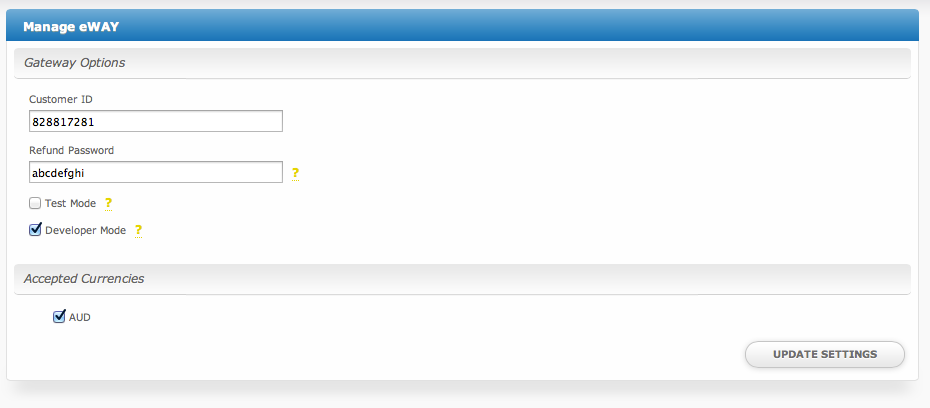
eWay
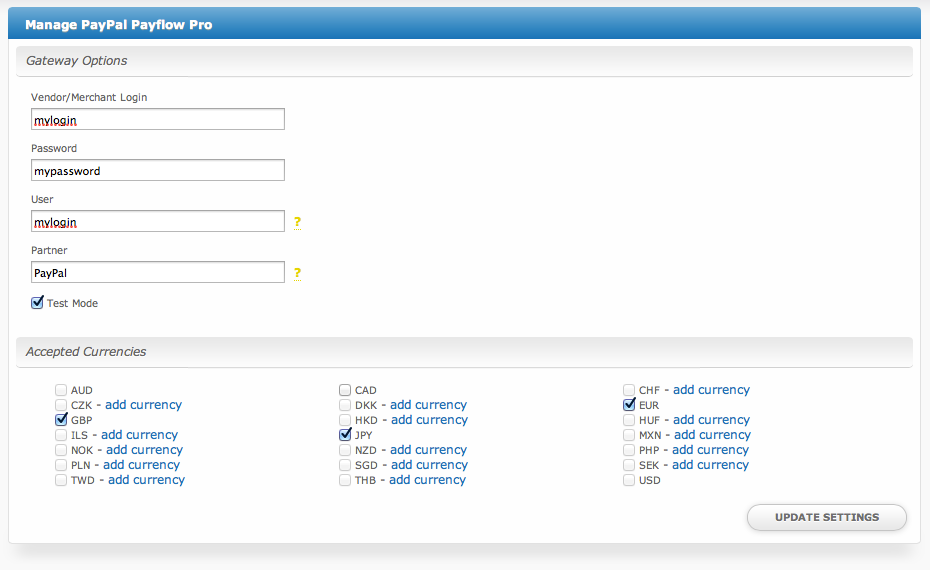
PayPal Payflow Pro
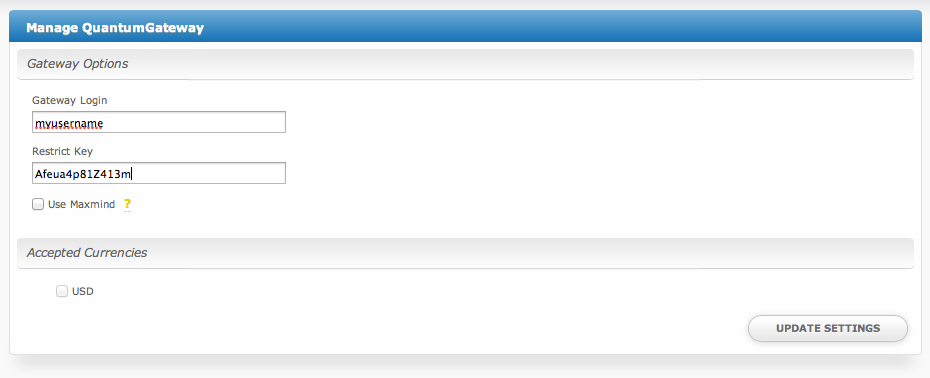
Quantum Gateway
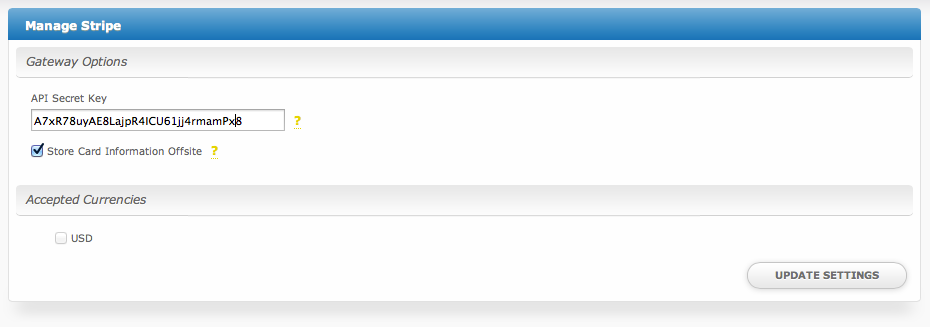
Stripe
Non-Merchant Gateways
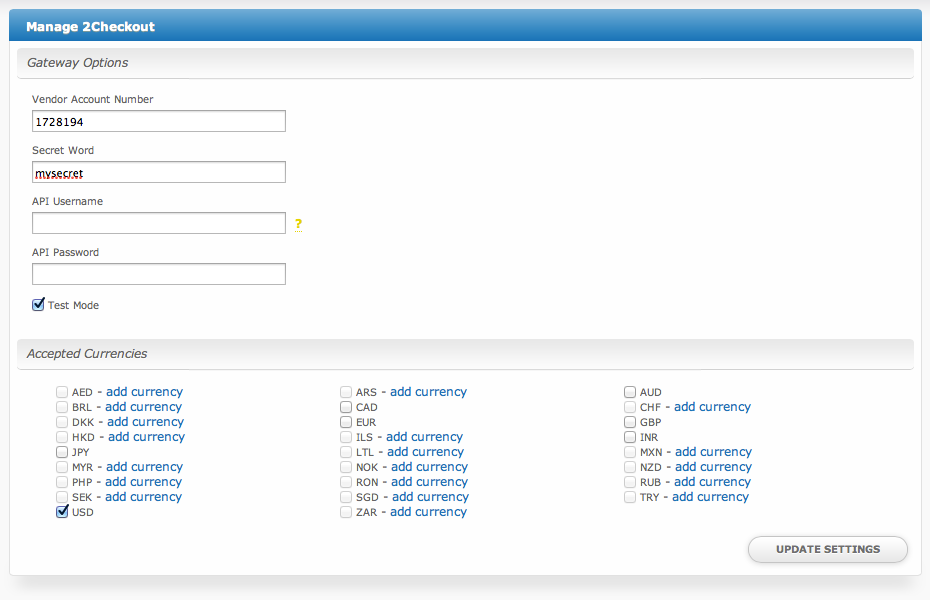
2Checkout
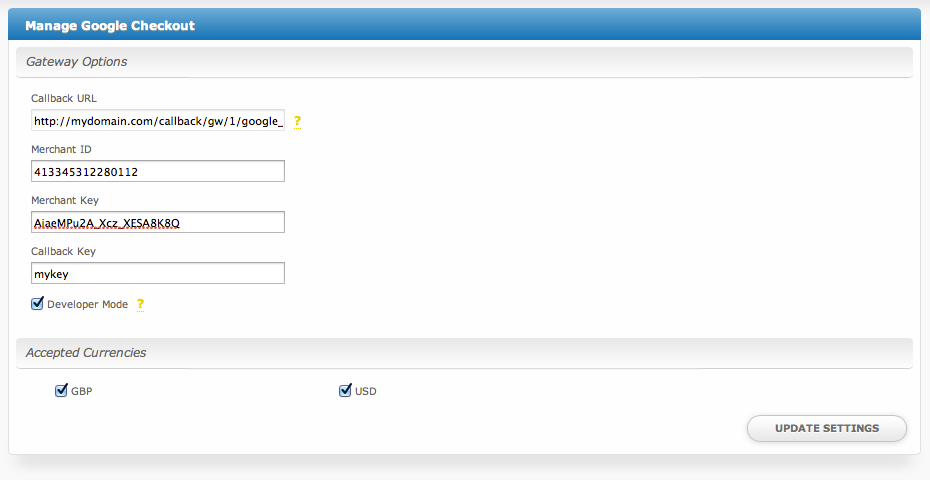
Google Checkout
PayPal Payments Standard
