| Table of Contents |
|---|
Sign up at Vultr.com
If you don't already have a Vultr account, please sign up at https://www.vultr.com/?ref=7326387
Supported Features
| Create | Cancel | Suspend | Unsuspend | Management | Config Options |
|---|---|---|---|---|---|
YES | YES | YES | YES | YES | YES |
Management Features
This module supports the following management features within the client area:
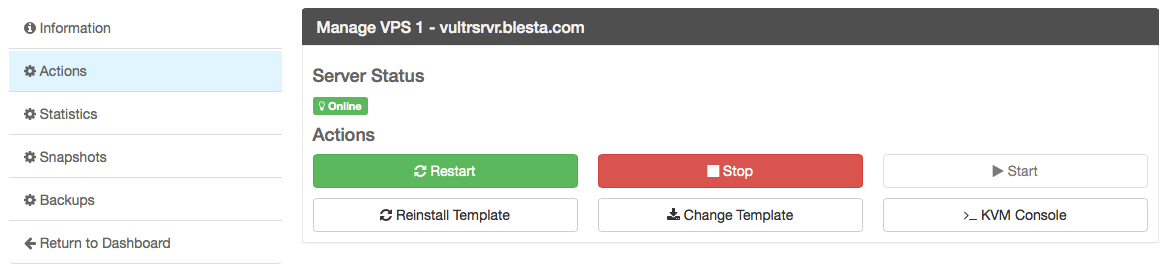
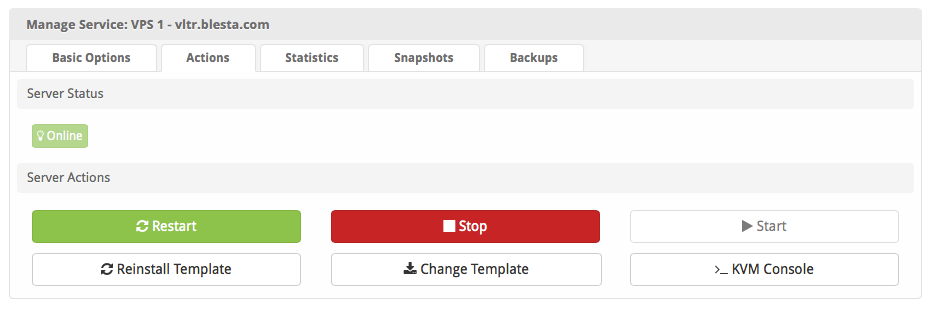
- Start, Stop, and Restart the server (VC2 and Bare Metal)
- Reinstall the OS (VC2 and Bare Metal)
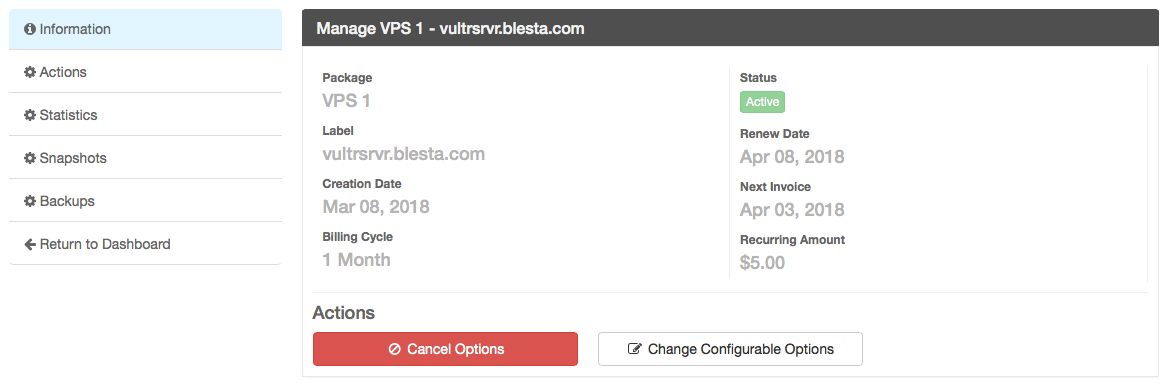
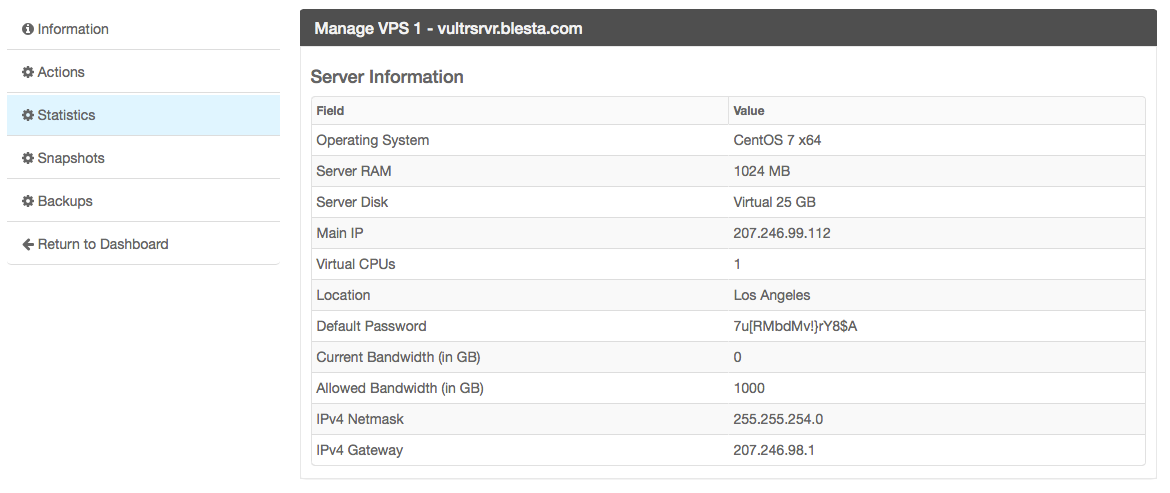
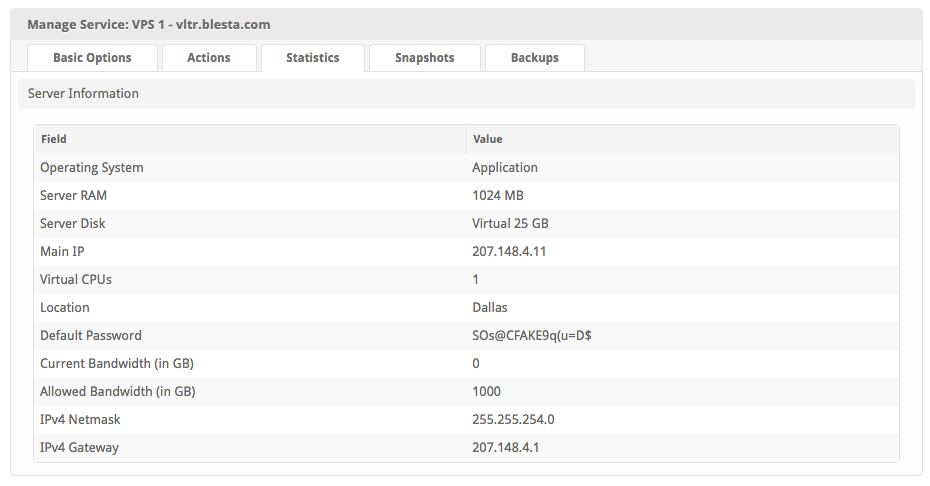
- View Server details, including initial password, and if an application has been installed the application details (VC2 and Bare Metal)
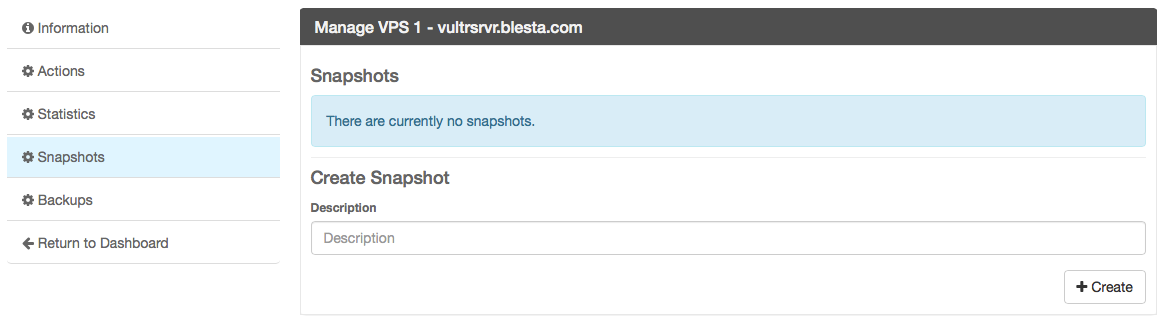
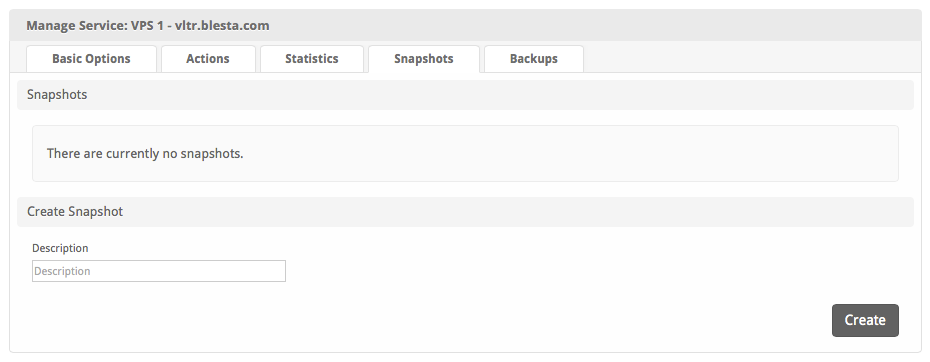
- Create and restore snapshots (VC2)
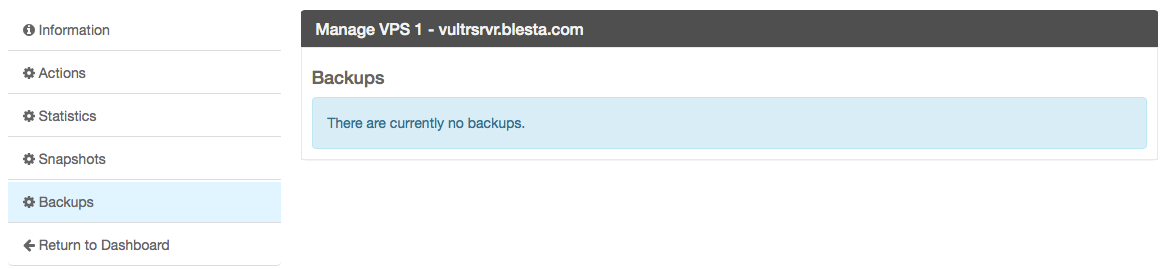
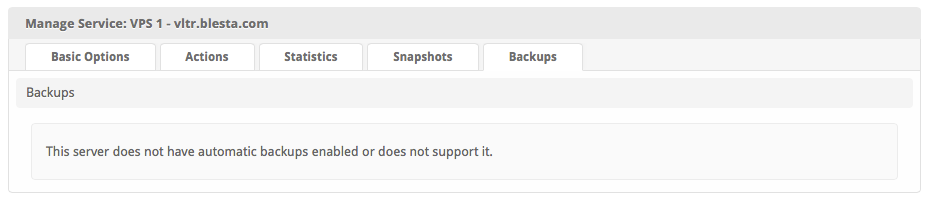
- Create and restore backups (VC2)

Installing Vultr
- Visit [Settings] > [Company] > [Modules] > Available.
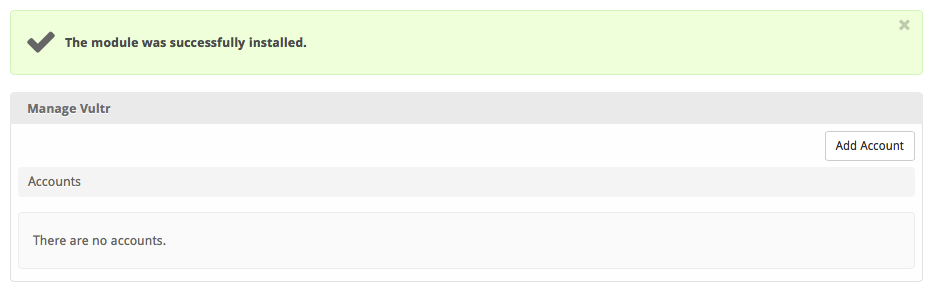
- Click the "Install" button within the Vultr module listing.

A message will be displayed, indicating that the module was successfully installed. Then click the "Add Account" button.
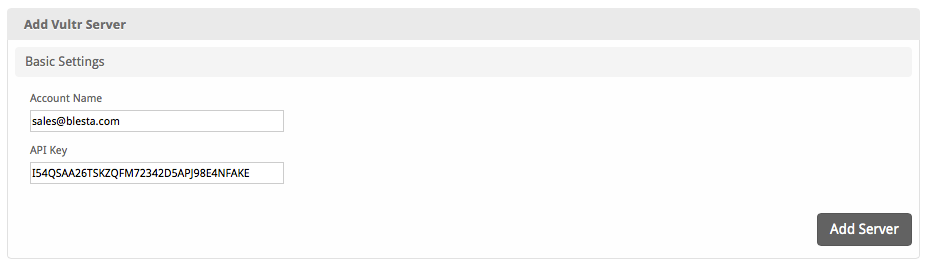
In your Vultr account, you will find your API Key under [Account] > API. Under Access Control, be sure to add the IP address of your Blesta server. Enter your username and API key in Blesta.
| Field Name | Description |
|---|---|
| Account Name | Enter the username you use to sign into Vultr |
| API Key | Enter your API Key as provided by Vultr. |
Configurable Options Overview
This module supports configurable options which may alter the provisioning of Vultr instances. Configurable Options override any matching Package settings.
Not Required
Configurable Options are not required, and this list in no way limits the Configurable Options that can be created. However, only the following Configurable Options can alter the way Vultr instances are provisioned.
| Option Name | Possible Values | Recommended Field Type | Description |
|---|---|---|---|
| enable_backup | enable | Checkbox | Determines whether backups should be enabled for the instance. |
Permanent Disable
When the "enable_backup" config option is switched from enabled to disabled Vultr will not allow it to be re-enabled. It will be disabled permanently.
Creating Configurable Options
The following steps describe how to create configurable options. This section describes the following:
- Creating a Configurable Option Group
- Creating Configurable Options, and assigning them to the Group (repeat this step as necessary to create all Configurable Options required)
Creating an Option Group
To create a Configurable Option Group, visit [Packages] > Options, and click the "Create Group" button.
| Field Name | Description |
|---|---|
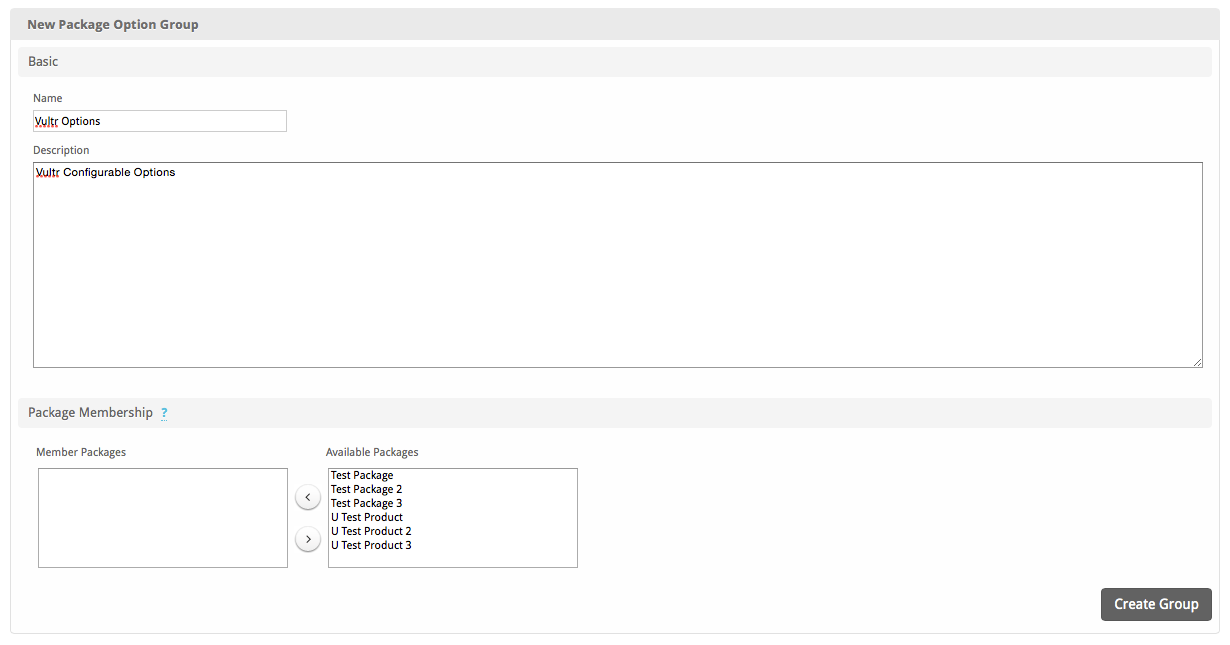
| Name | Enter a name for this group. |
| Description | Enter a description for this group (optional). |
| Package Membership | Leave this section blank, we will add the options to the group when creating the options instead. If you have already created the options, you may add them to the group on this step. |
After filling out these options, click the "Create Group" button to create the Option Group.
Creating a Configurable Option
To create a Configurable Option, visit [Packages] > Options, and click the "Create Option" button.
| Field Name | Description |
|---|---|
| Label | Enter a label, which will appear above or next to this form field. |
| Name | Enter a name, which is the form field name. (Important! This should match an Option Name described above. The module requires specific naming.) |
| Type | Select the field type from "Checkbox", "Radio", "Drop-down", and "Quantity". |
| Options Section | Set pricing information within the Options section. The fields required here may vary depending on the "Type" selected above. |
| Group Membership Section | Add this Configurable Option to the previously created Option Group by moving the Group from the right to the left in the multi-select box. |
After filling out these options, click the "Create Package Option" button to create the Option. Repeat as necessary to create all of the configurable options you wish to make available to the client during checkout.
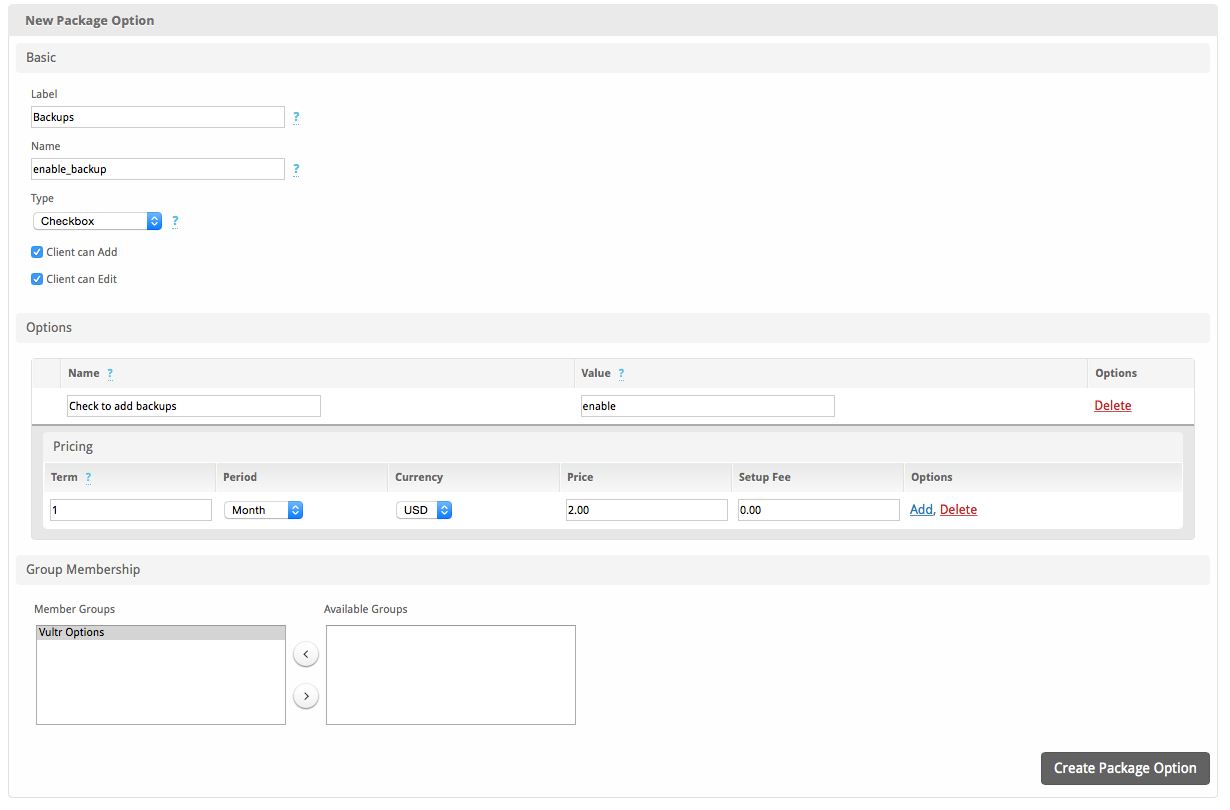
Sample Configurable Options
The following are sample configurations for each of the supported configurable options listed above, and may serve as good examples for getting started.
| Option Name | Sample Configuration Screenshot (Click for full size) |
|---|---|
| enable_backup | |
Creating Packages
Packages define the pricing, welcome email, module and more. Packages can be assigned to Package Groups, and added to Order Forms. To create a Package, visit [Packages] > Browse, and click the "Create Package" button.
Creating a Package consists of several sections:
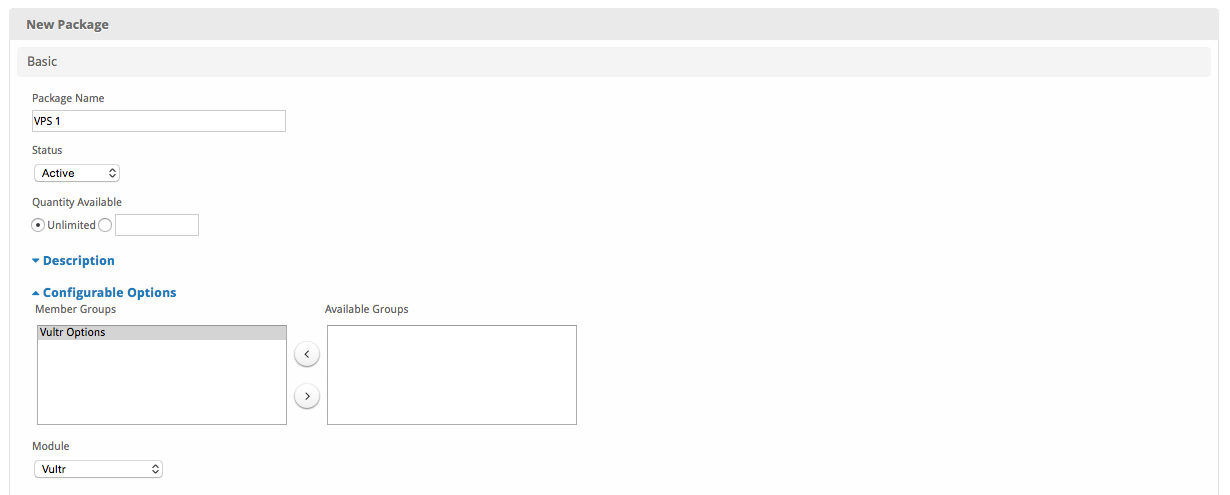
Basic
The Basic section consists of the following options:
| Field Name | Description |
|---|---|
| Package Name | Enter the name of this Package, it will be visible wherever services are listed and on any order forms. |
| Status | "Active" is the default, "Inactive", and "Restricted" are also available. |
| Quantity Available | If this Package has a limited quantity available, enter the quantity, or leave it as "Unlimited". |
| Description | Enter a Description for this Package. HTML is allowed, and descriptions appear on order forms. |
| Configurable Options | A Configurable Option Group may be selected if previously created. |
| Module | Select "Vultr" for the module. |
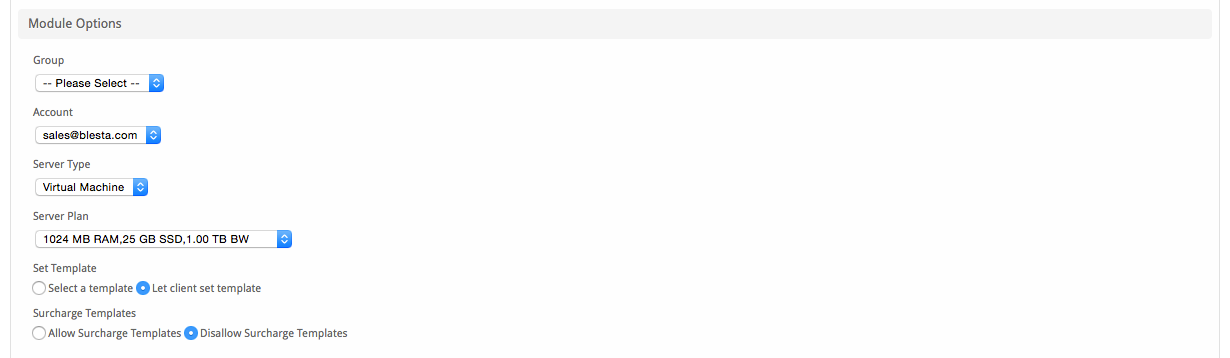
Module Options
The Module Options section consists of the following options, which are specific to Vultr:
| Field Name | Description |
|---|---|
| Group | Groups are not supported by this module. |
| Account | Select the Vultr account this package will use to provision accounts. It's possible to have multiple Vultr accounts through the module. |
| Server Type | Select the server type you would like to provision. "Virtual Machine" and "Bare Metal" are supported. |
| Server Plan | Select the size of the server you would like to use for this Package. |
| Set Template | You can preselect an OS template for the package, or you can choose to let the client select the template during checkout. |
| Surcharge Templates | Some templates may incur a surcharge. You can allow or disallow these type of OS templates. Surcharge Templates As of April 5, 2019 the only templates designated by the Vultr API as surcharge are: "Windows 2012 R2 x64", and "Windows 2016 x64" |
Pricing
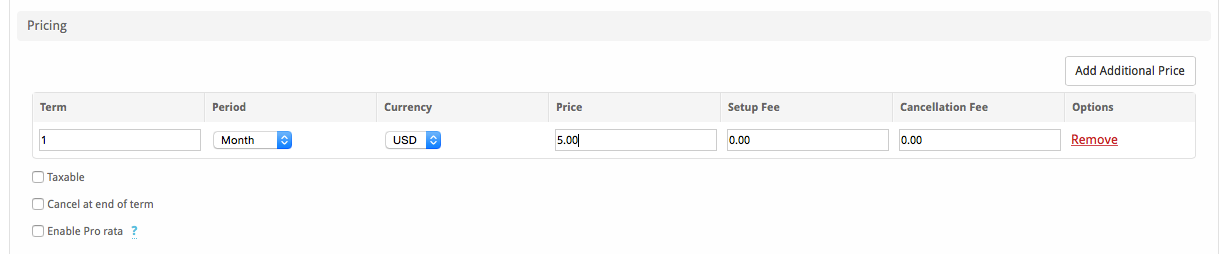
| Field Name | Description |
|---|---|
| Term | Enter the term for the desired pricing option. For example, if you wish to create a 3 month pricing option, enter 3 here. |
| Period | Select the period for this pricing option. "Day", "Week", "Month", "Year", and "One time" are options. The client will be invoiced every "term period", for example every 3 months if 3 is entered for term, and Month is selected for period. |
| Currency | Select the currency this pricing option is available for. |
| Price | Enter the price for this pricing option. |
| Setup Fee | If there is a setup fee, enter it here. |
| Cancellation Fee | If there is a fee to cancel early, enter it here. |
Click the "Add Additional Price" to add more pricing options. It's common for people to create 1 Month, 3 Month, 6 Month, and 1 Year price options. There are many possible combinations.
Welcome Email
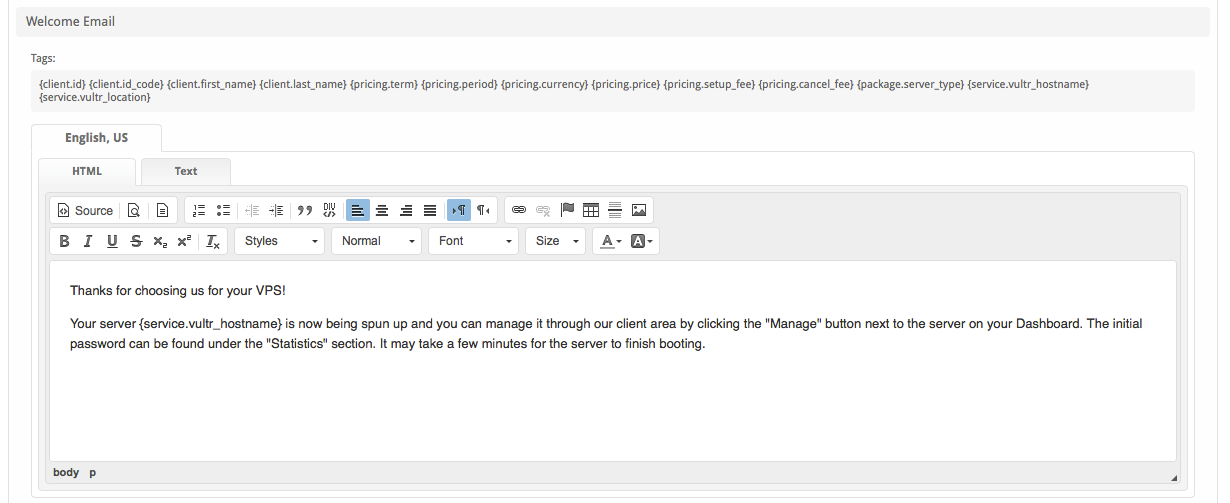
The "Tags" section describes tags that may be used in the welcome email. The welcome email content is inserted into the "Service Creation" email template under [Settings] > [Company] > [Emails] > Service Creation. Only details unique to this service should be entered into the welcome email section for the package.
Sample Email
This sample email could be used in the Package Welcome Email section to help you get started. Be sure to enter content for your welcome email in both the HTML and Text sections.
Thanks for choosing us for your VPS!

Your server {service.vultr_hostname} is now being spun up and you can manage it through our client area by clicking the "Manage" button next to the server on your Dashboard. The initial password can be found under the "Statistics" section. It may take a few minutes for the server to finish booting.
When creating or editing a package that uses this module, the following tags will be available:
| Tags | Description | Notes |
|---|---|---|
| {service.vultr_hostname} | The host name of the Vultr server. | e.g. "vultr.domain.com". |
| {service.vultr_location} | The location of the Vultr server. | The Vultr server location. |
Group Membership
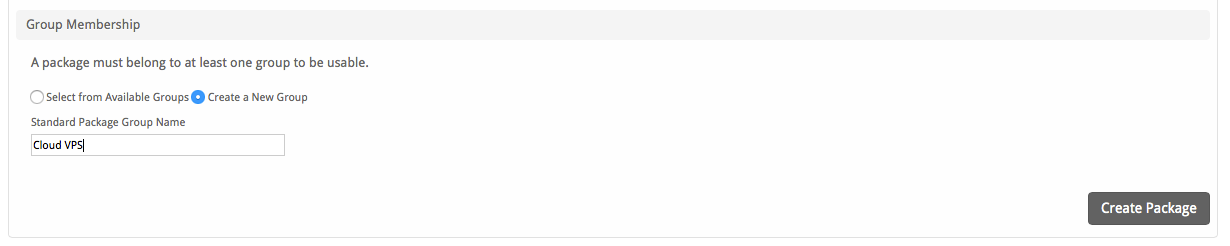
If this is the first Package you are creating with this module, select the "Create a New Group" option, and enter a Group name. If you are adding a subsequent Package and wish for it to be part of the same group, select "Select from Available Groups", and move the group from the right to the left of the multi-select box.
When finished, click "Create Package" to create this package.
Final Steps
The only thing left to do is to add this Package Group to an order form so clients may place orders for your Vultr servers. See Creating an Order Form for more details.