| Table of Contents |
|---|
About Configurable Options
Configurable Options consist of additional fields that request information from clients when ordering packages. These fields can have a price associated with them and add to the base price set for the package. Configurable Options can be of the following types:
- Checkbox
- Radio
- Drop-Down
- Quantity
- Text (v4.3)
- Textarea (v4.3)
- Password (v4.3)
Configurable Option values are passed into modules during service provisioning, so modules expecting these fields can use the information to alter the way they provision the service.
Configurable Option Group Overview

Configurable Options Overview
Creating an Option Group
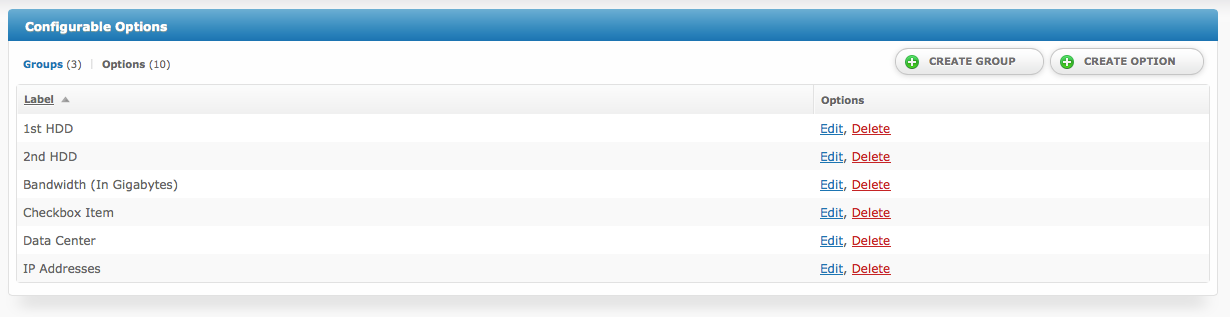
To create a configurable option group, visit [Packages] > [Options] and click the "Create Group" button.
The following form will be displayed:
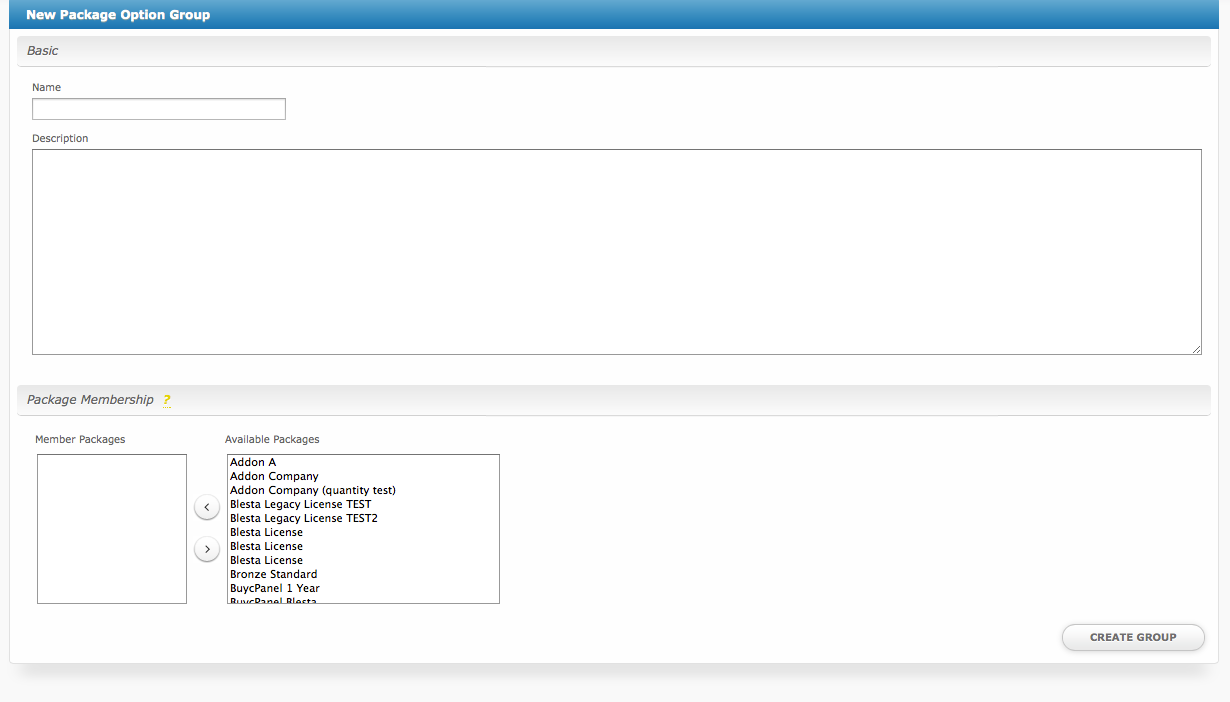
- Enter a name for the group. This name will only be visible in the staff area, and not visible to clients.
- Enter a description for the group.
- Select what packages this group should be assigned to, if any.
- Click the "Create Group" button to create the option group.
Package Membership
Options are assigned to Option Groups, and Option Groups are assigned to Packages. That association can be made here, or it can be made when creating or editing Packages.
Creating an Option
To create a configurable option, visit [Packages] > [Options] and click the "Create Option" button.
The following form will be displayed:
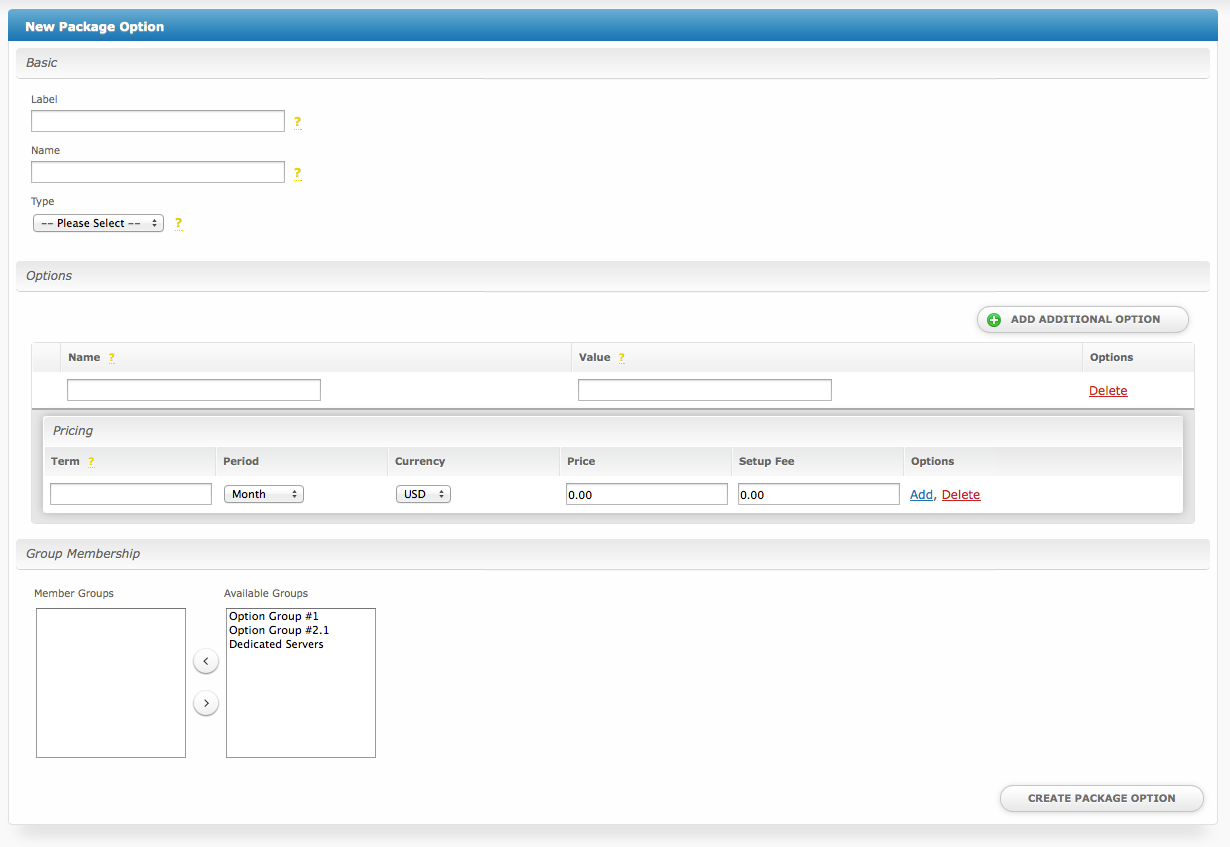
There are several sections, Basic, Options, and Group Membership.
Basic
The Basic section requires the following fields:
- Label - This is the form label that will appear directly above this field
- Name - This is the form field name, which is hidden. If this field is passing information into a module, the module may require it to have a specific name.
- Description - This will be shown as a tooltip next to the option to explain it.
- Type - The type of field, either "Checkbox", "Radio", "Drop down", "Quantity", "Text", "Textarea", or "Password".
- Client can Add - Check to allow clients to add the config option to a service order or addon.
- Client can Edit - Check to allow clients to edit the config option on existing services.
Options
The options that are displayed vary depending on the "Type" selected above.
Checkbox
When creating an option of the type check-box, the following will be displayed:
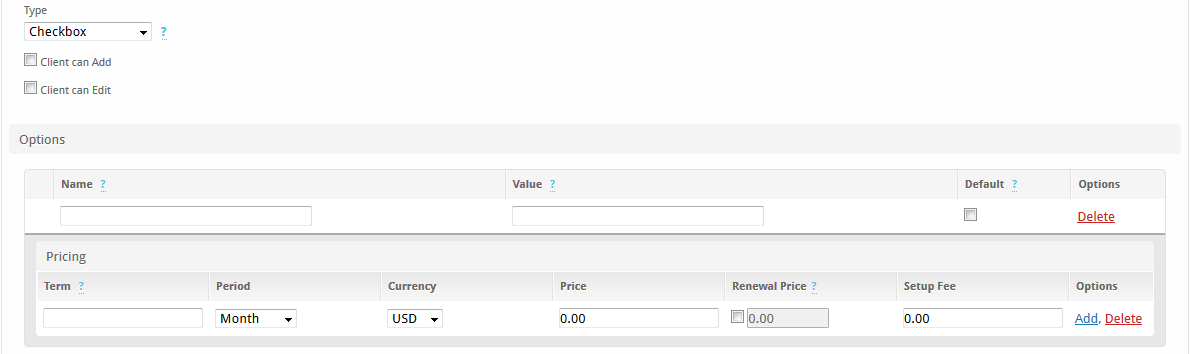
- Name - Enter the display name for this option, which will appear next to the checkbox.
- Value - Enter the value for this option, which if checked, will be submitted through the form.
- Default - By checking or unchecking this box you will set the default value of the config option
Pricing
Enter the pricing for this option for every term and currency that this option should exist for.
Missing Prices
If a client chooses a package term that does not exist for this option, this option will not appear. For example, if a 3 month term is selected for the package, and there is no 3 month term in the same currency for this option, it will be unavailable.
Radio
When creating an option of the type radio, the following will be displayed:
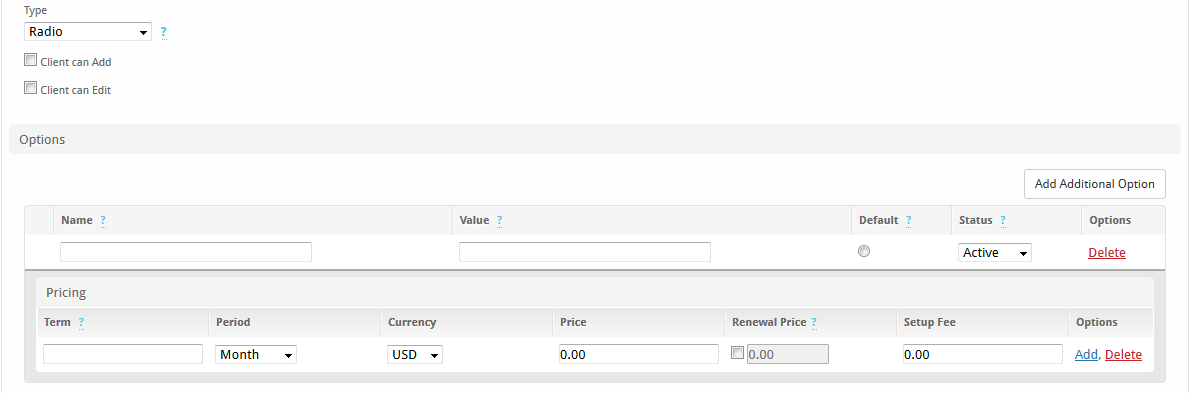
- Name - Enter the display name for this option, which will appear next to the radio option.
- Value - Enter the value for this option, which if selected, will be submitted through the form.
- Default - By checking the radio on this option you will set it as the default value of the config option
- Status - Inactive option values can no longer be selected for services, but can be kept for existing services until changed to a different value.
- Click "Add Additional Option" to continue adding more radio items to the form.
Pricing
Enter the pricing for this option for every term and currency that this option should exist for.
Missing Prices
If a client chooses a package term that does not exist for this option, this option will not appear. For example, if a 3 month term is selected for the package, and there is no 3 month term in the same currency for this option, it will be unavailable.
Drop Down
The drop down type looks identical to the radio type:
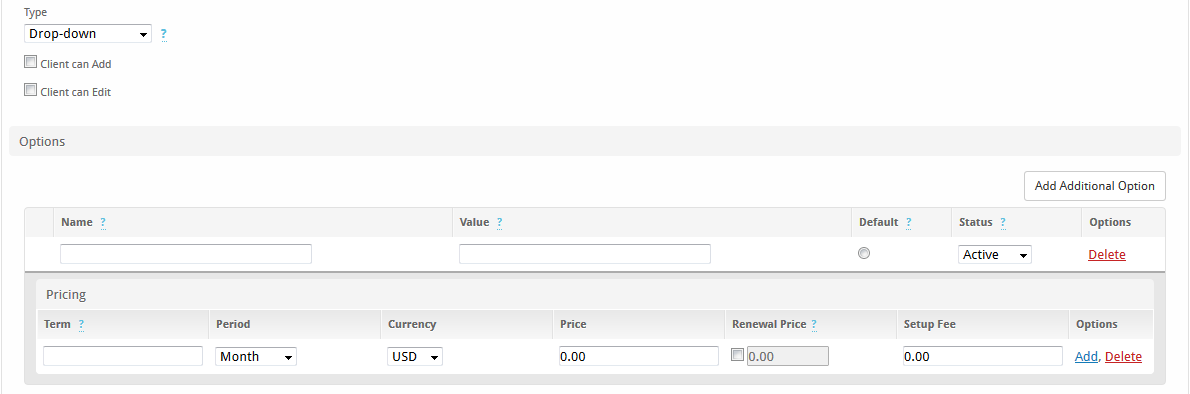
- Name - Enter the display name for this option, which will appear above the drop down.
- Value - Enter the value for this option, which if selected, will be submitted through the form.
- Default - By checking the radio on this option value you will set it as the default value of the config option
- Status - Inactive option values can no longer be selected for services, but can be kept for existing services until changed to a different value.
- Click "Add Additional Option" to continue adding more items to the drop down.
Pricing
Enter the pricing for this option for every term and currency that this option should exist for.
Missing Prices
If a client chooses a package term that does not exist for this option, this option will not appear. For example, if a 3 month term is selected for the package, and there is no 3 month term in the same currency for this option, it will be unavailable.
Quantity
When creating an option of the type quantity, the following is displayed:
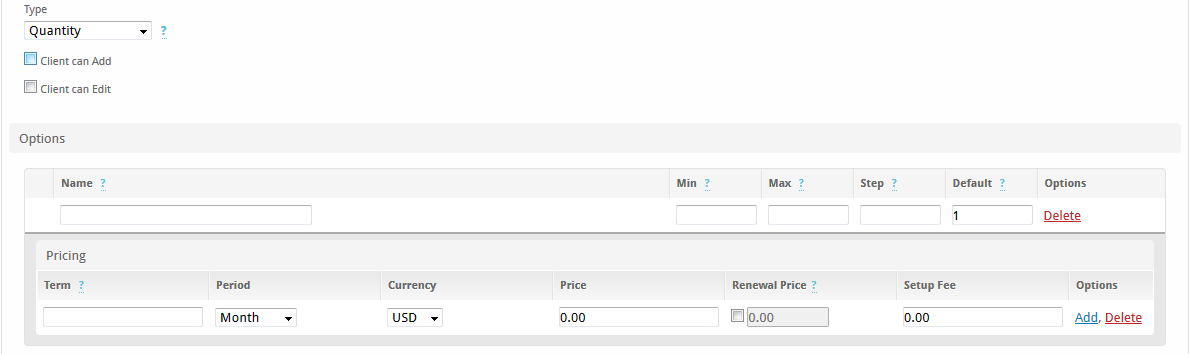
- Name - Enter the display name for this option, which will appear above a slider.
- Min - Enter the minimum quantity available to order.
- Max - Enter the maximum quantity available to order.
- Step - Enter the step or increment size.
- Default - By checking the radio on this option value you will set it as the default value of the config option
A good example of a quantity field is server memory. A minimum amount of 512 (representing RAM), a max of 4096, and a step of 256 means the user could select 512MB, 768MB, 1024MB, up to 4096.
Pricing
Enter the pricing for this option for every term and currency that this option should exist for. The price is per-unit. So, if the user selects a quantity of 100 for example, it will be multiplied by the price defined here.
Missing Prices
If a client chooses a package term that does not exist for this option, this option will not appear. For example, if a 3 month term is selected for the package, and there is no 3 month term in the same currency for this option, it will be unavailable.
Text
When creating an option of the type text, the following will be displayed:
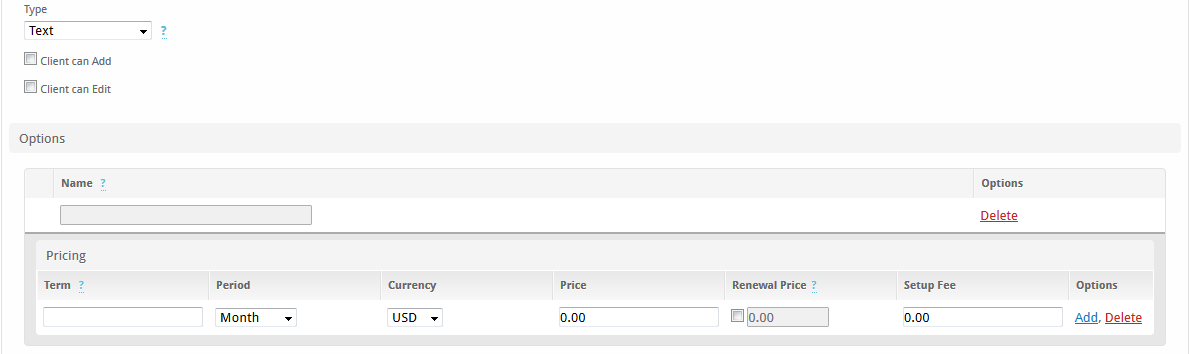
Pricing
Enter the pricing for this option for every term and currency that this option should exist for.
Missing Prices
If a client chooses a package term that does not exist for this option, this option will not appear. For example, if a 3 month term is selected for the package, and there is no 3 month term in the same currency for this option, it will be unavailable.
Textarea
When creating an option of the type textarea, the following will be displayed:

Pricing
Enter the pricing for this option for every term and currency that this option should exist for.
Missing Prices
If a client chooses a package term that does not exist for this option, this option will not appear. For example, if a 3 month term is selected for the package, and there is no 3 month term in the same currency for this option, it will be unavailable.
Password
When creating an option of the type password, the following will be displayed:
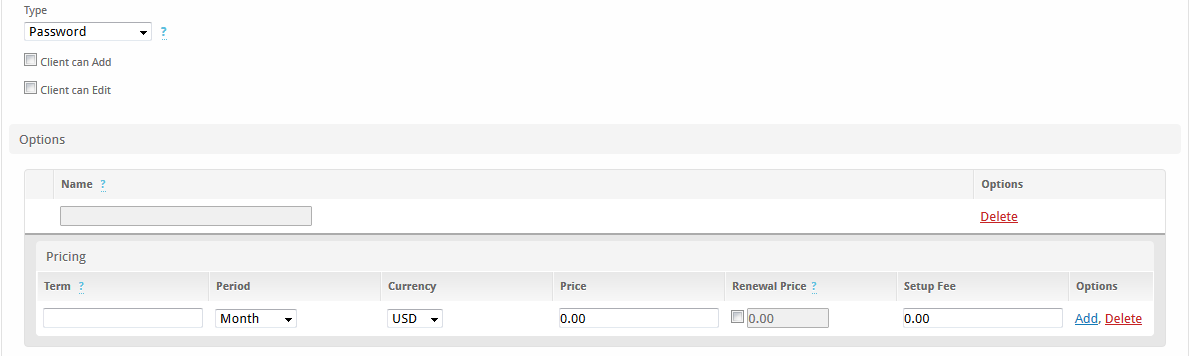
Pricing
Enter the pricing for this option for every term and currency that this option should exist for.
Missing Prices
If a client chooses a package term that does not exist for this option, this option will not appear. For example, if a 3 month term is selected for the package, and there is no 3 month term in the same currency for this option, it will be unavailable.
Adding Configurable Options to Packages
Configurable Options must be assigned to one or more Configurable Option Groups in order to be usable. Assigning configurable options to packages is a matter of assigning a configurable option group to a package, which can be done in either of two ways:
- Edit or create a Package, click to expand "Configurable Options", and move the option groups containing the options you wish to add to the package from the right to the left in the multi-select box.
- OR, edit the Package Option Group under [Packages] > [Options] > Groups, and move the packages you wish to add the options in this group to from the right to the left in the multi-select box.
That's it! When clients order packages, the options contained in all configurable option groups that are assigned to the package will be available.
Sorting Configurable Options
Configurable Options can be sorted within their groups by clicking to expand the group and using drag and drop to order them.
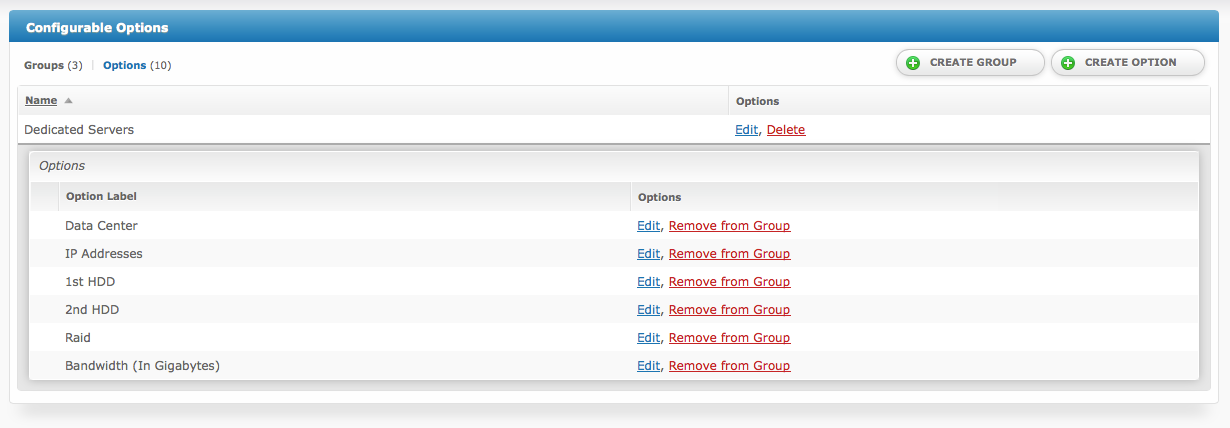
On this screen, hovering over the options under the group will display a sort icon in the left most column. To sort, click and hold on the option you wish to move, and drag it up or down in the list, releasing it where you wish to place it.