...
| Expand | ||
|---|---|---|
| ||
 |
Installing Interworx
...
To install the Interworx module, visit [Settings] > [Company] > [Modules] > Available
...
, and click the "Install" button
...
for Interworx
...
.
...

A message will be displayed, indicating that the module was successfully installed. Then click the "Add Server" button.

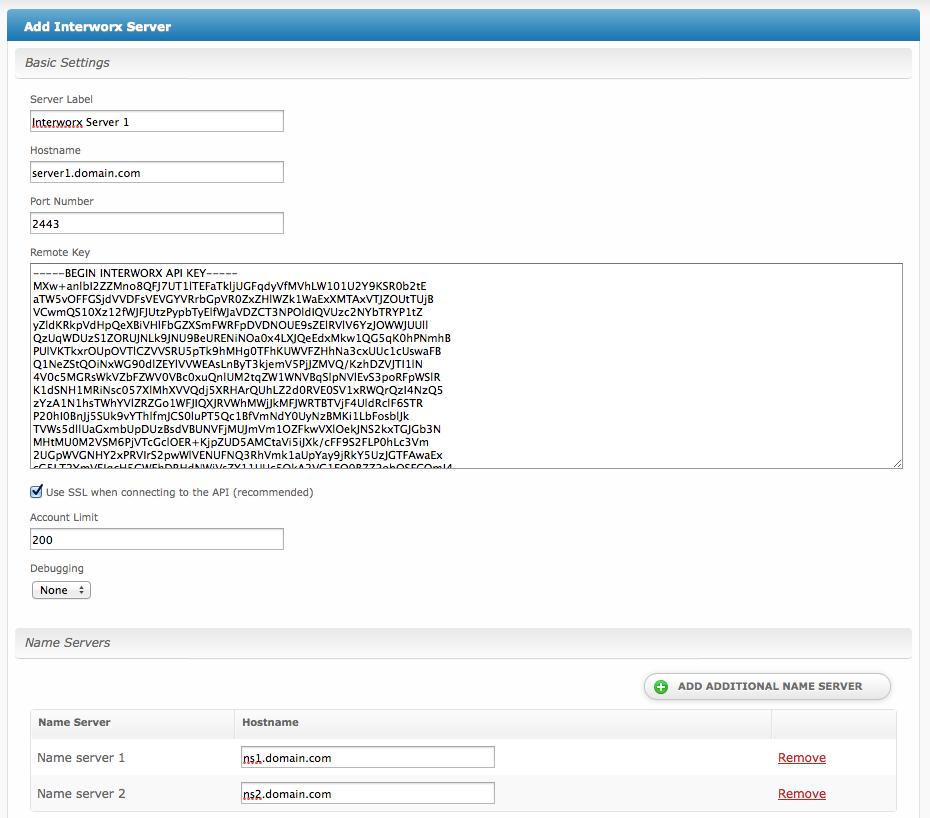
Enter the details for your Interworx Server.
| Field Name | Description |
|---|---|
| Server Label | Enter a label for this Interworx server, it can be anything you like. |
| Hostname | Enter the FQDN hostname for your Interworx server, ie "server1.domain.com". |
| Port Number | Enter the port number for Interworx. The default secure port is 2443. |
| Remote Key | Enter the Remote Key as found in Interworx under NodeWorx > API Key. |
| Use SSL when connecting to the API | Check this option to use SSL for all API requests to your Interworx server. This is highly recommended. If enabled, please ensure that the "Port Number" specified above is the SSL port. |
| Debugging | It may be necessary to debug module calls. Select "Log" to log to the module log in Blesta under Tools > Logs > Module, or "Print" to print to the screen. The "None" option is recommended, and will log only standard calls to the module log. |
| Account Limit | Enter the maximum number of accounts that should be added to this Interworx server. |
| Name servers | Enter the name servers that should be used for this server. These will be available to the package welcome email to the client. |
| Notes | Enter any notes that pertain to this server for future reference. |
After filling out these options, click "Add Server" to add your Interworx server.
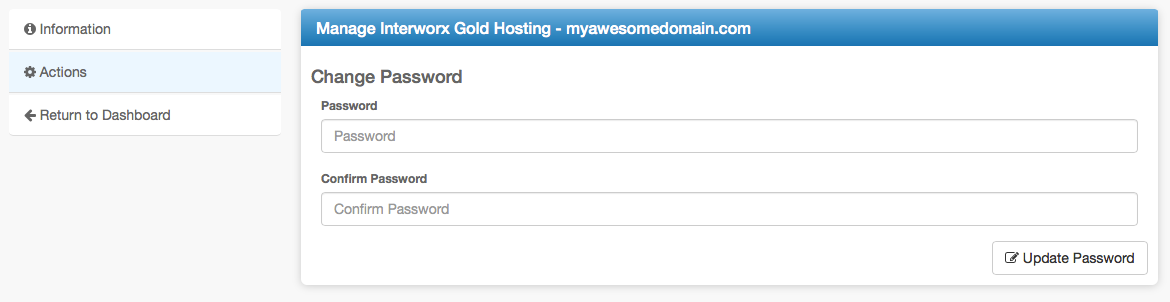
Interworx Overview
The "Manage" screen displays an overview of all of your Interworx servers and server groups, and lists all servers and server groups that are configured for Interworx.
...