...
| Excerpt | ||
|---|---|---|
| ||
Order System is a plugin that allows the creation of public-facing order forms, providing a method for clients to purchase new services. |
...
The Order System is responsible for all order forms and order handling in Blesta. As of version 4.11, the Order System also includes an Affiliate System, which is tightly integrated with orders.
Tie-Ins*
| Widgets | Nav Links | Client Cards | Automation Tasks | Email Templates | ACL Permissions | Search | Events | Service Management | Messengers | ||||||||||||||||||||||||||||||||||||||||||||||||||||||||||||||||||||
|---|---|---|---|---|---|---|---|---|---|---|---|---|---|---|---|---|---|---|---|---|---|---|---|---|---|---|---|---|---|---|---|---|---|---|---|---|---|---|---|---|---|---|---|---|---|---|---|---|---|---|---|---|---|---|---|---|---|---|---|---|---|---|---|---|---|---|---|---|---|---|---|---|---|---|---|---|---|
|
|
|
|
|
|
|
|
|
|
* Plugins are powerful and are not limited to the tie-ins listed above, these are just some of the most common
...
- Visit [Settings] > [Company] > [Plugins] > Available.
- Click the "Install" button within the Order System plugin listing.
- To enable the Order System widget, go to [Billing] > Overview, click the "Manage Widgets" link, and drag the Orders widget from the right to the left.

Order System Overview
Once installed, a new link will appear under [Packages] > Order Forms, where order forms can be managed. In the screen below, two order forms have already been created and they can be managed at this location.
...
The default order form exists at /order/, relative to your installation path. Other order forms may be accessed through their unique label identifier. Below are a few examples:
Name | Label | URI | Default Order Form | ||||||
|---|---|---|---|---|---|---|---|---|---|
| Web Design | design | /order/ or /order/main/index/design |
| ||||||
| VPS Servers | vps | /order/main/index/vps |
| ||||||
| Domain Registration | domains | /order/main/index/domains |
|
...
| Description | Parameters | URI | ||||||||||||||||||
|---|---|---|---|---|---|---|---|---|---|---|---|---|---|---|---|---|---|---|---|---|
| Display Package Group |
| /order/main/packages/label/?group_id=1 | ||||||||||||||||||
| Display Package Group with Package Selected |
| /order/main/packages/label/?group_id=1&package_id=2 | ||||||||||||||||||
| Display Package Configuration with Price Selected |
|
|
| Info | ||
|---|---|---|
| ||
Note! When using the "Domain and Other" order type, you should link to the domain search page and include your parameters. e.g. /order/config/preconfig/label/(parameters, like ?group_id=5&pricing_id=5) |
Linking to an Order Form to Include a Coupon
...
| Description | Parameters | URI | Notes | ||||||||||||||
|---|---|---|---|---|---|---|---|---|---|---|---|---|---|---|---|---|---|
| Set a Coupon to an Order Form |
| /order/main/index/label/?coupon=CPN123 | In this example, the
| ||||||||||||||
| Set a Coupon to a Specific Product |
| /order/main/index/vps/?group_id=1&package_id=5&coupon=10off | In this example, the
| ||||||||||||||
| Set a Coupon to a Specific Product Configuration |
|
| In this example, the
|
Linking to an Order Form to Include the Currency
...
| Description | Parameters | URI | Notes |
|---|---|---|---|
| Set the language for the order form. |
| /order/main/index/label/?lang=fr_fr | In this example, the
|
Common Issues
Activating the Affiliate System
As of Blesta 4.11, the Order Manager includes an Affiliate System. To activate the Affiliate System, visit Clients > Affiliates and click the "Enable Affiliate System" button to activate.

Once the Affiliate System is active, you will be taken to the General Settings. It's important to set these details now. When a client signs up to become an affiliate, their settings will initially mirror these settings, but can be overridden on an individual basis as desired.
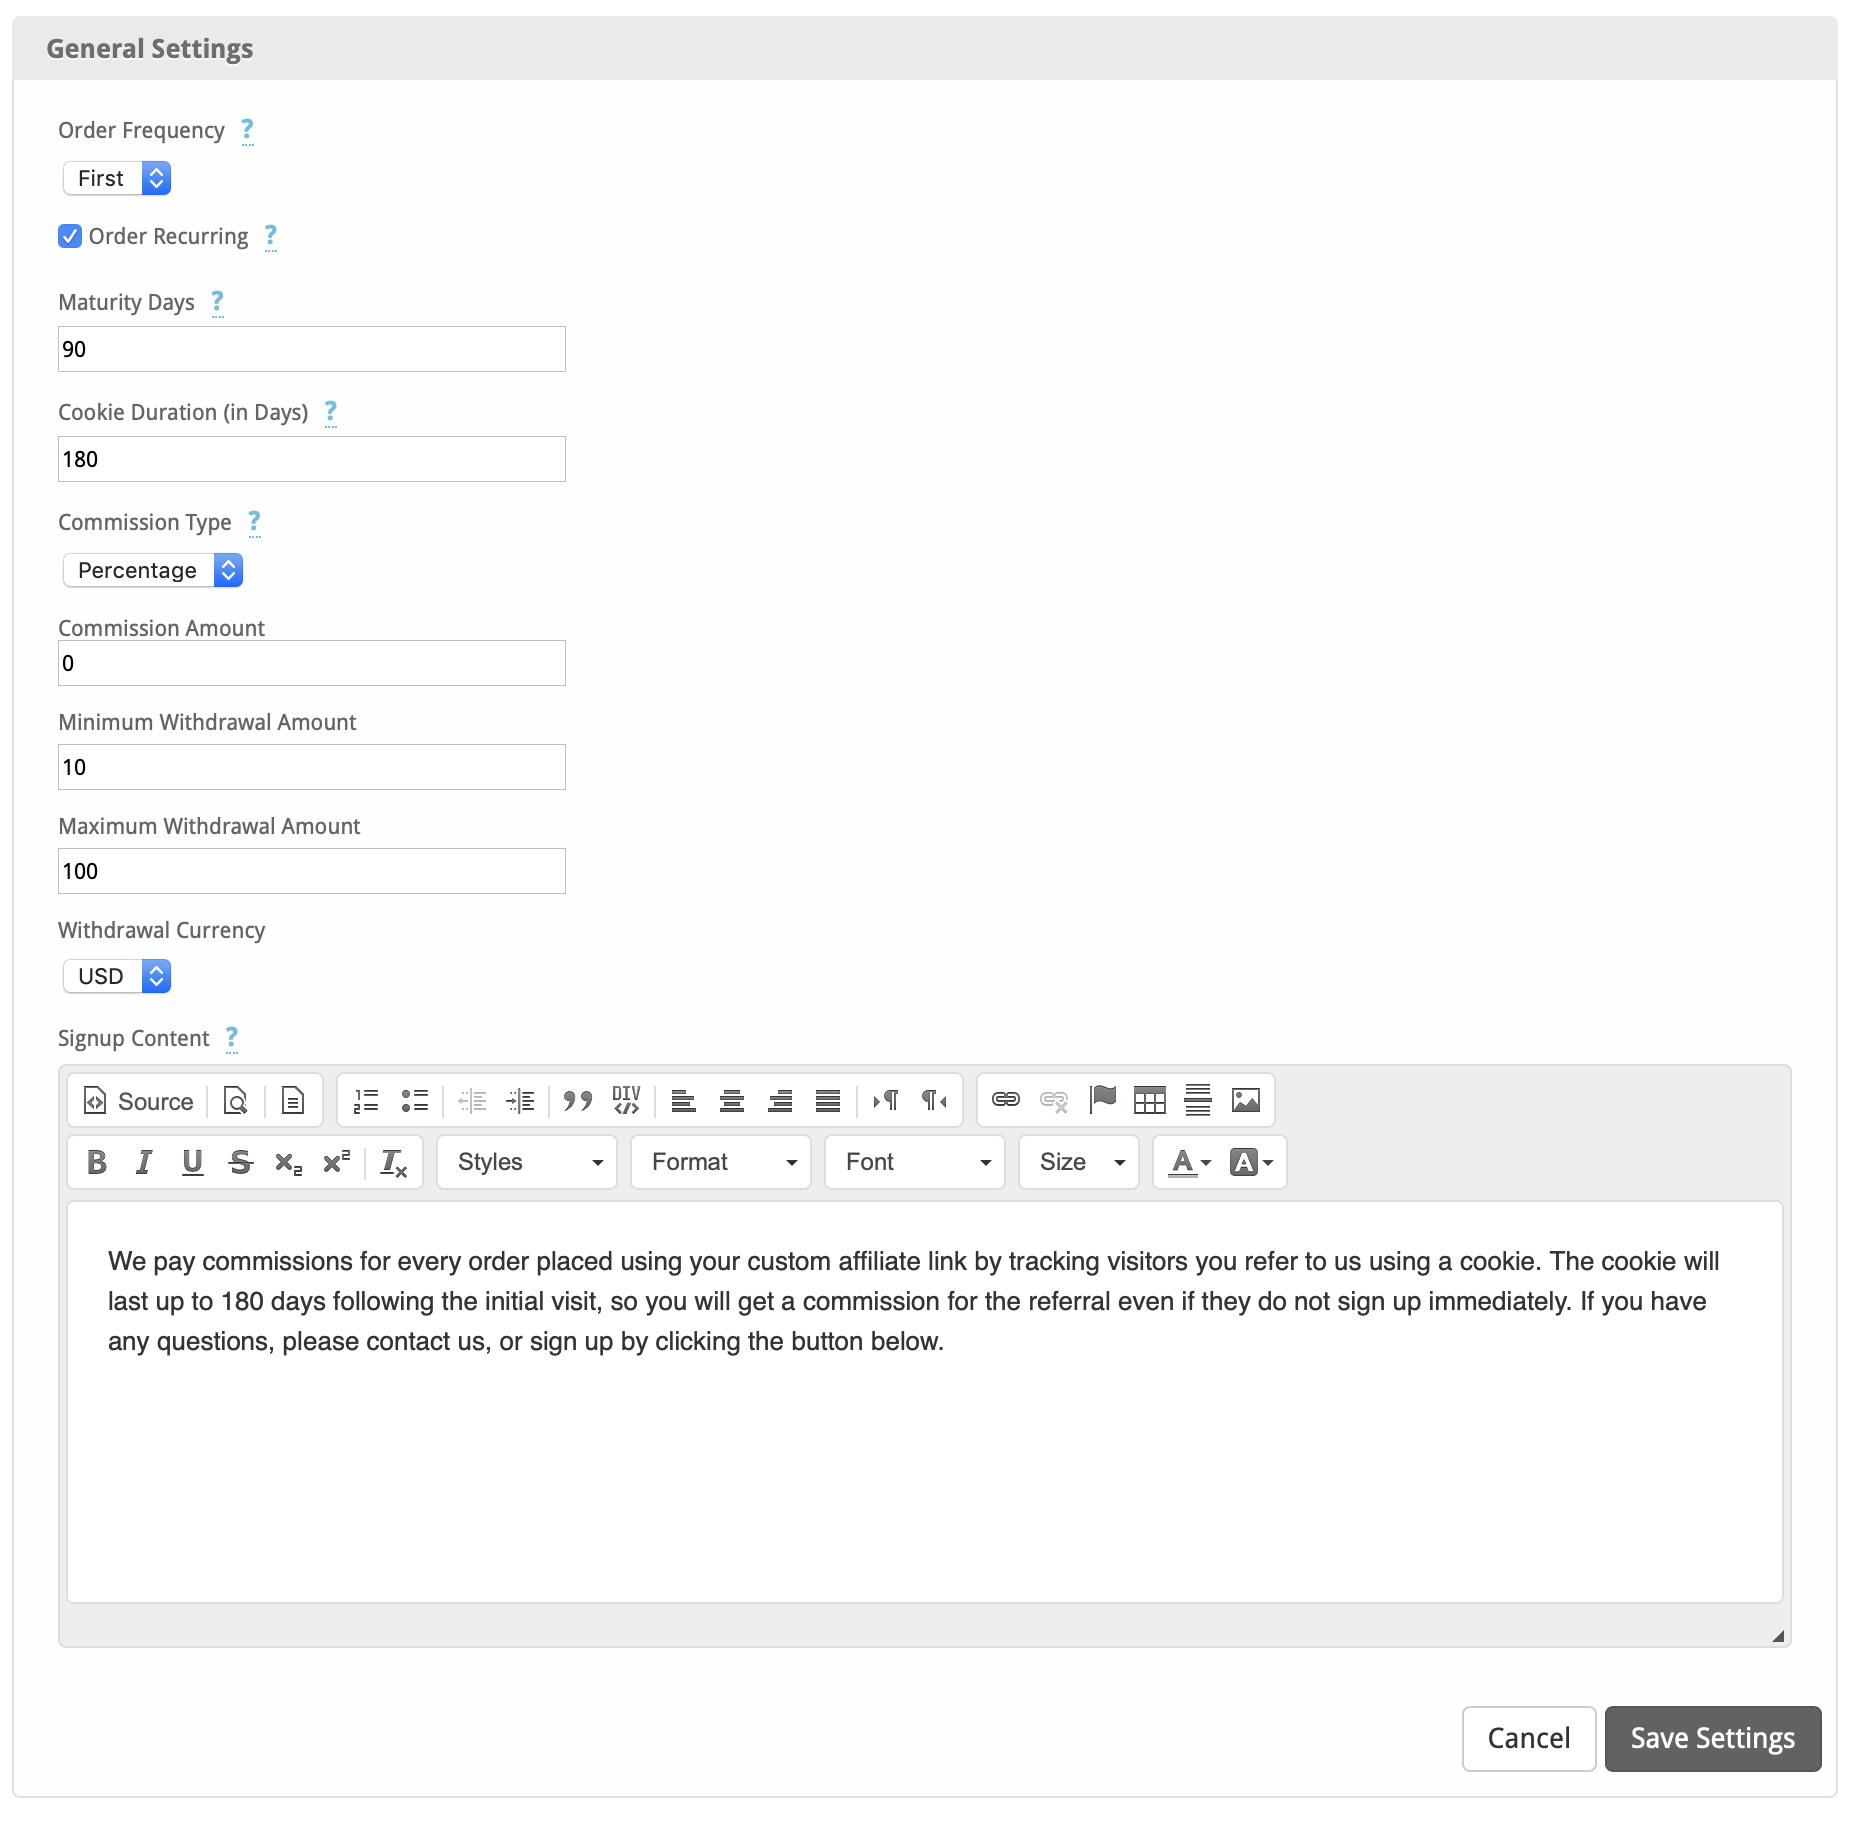
| Setting | Default Value | Description | |||||
|---|---|---|---|---|---|---|---|
| Order Frequency | First | (First, Any) First to pay referrals only for the first order a client makes using a referral link, or Any to pay referrals for each order a client makes using a referral link. | |||||
| Order Recurring | (checked) |
Whether referrals will be paid for services ordered that renew. Uncheck to apply to the initial purchase only. | |||||
| Maturity Days | 90 | The number of days after payment a referral matures and becomes available for payout. | |||||
| Cookie Duration (in days) | 180 | The days that an affiliate cookie remains valid after a referral link is followed. | |||||
| Commission Type | Percentage | (Fixed, Percentage) The calculation method used to determine referral commission. Either a fixed value per order or a percentage of the order total. | |||||
| Minimum Withdrawal Amount | 10 | The minimum amount, in the Withdrawal Currency, that can be withdrawn at a time. | |||||
| Maximum Withdrawal Amount | 100 | The maximum amount, in the Withdrawal Currency, that can be withdrawn at a time. | |||||
| Withdrawal Currency | USD | The currency that commissions can be withdrawn in. | |||||
| Signup Content | The content that an client will see when they visit the Affiliates page before signing up. |
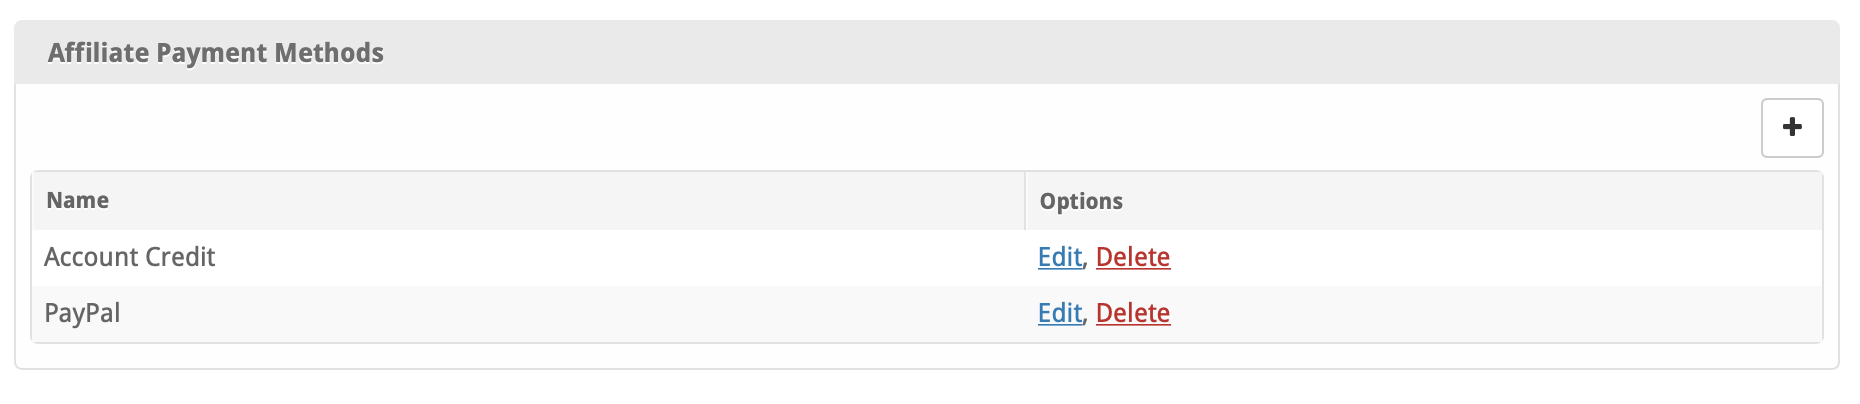
You can add payout payment methods under Clients > Affiliates > Settings > Payment Methods.
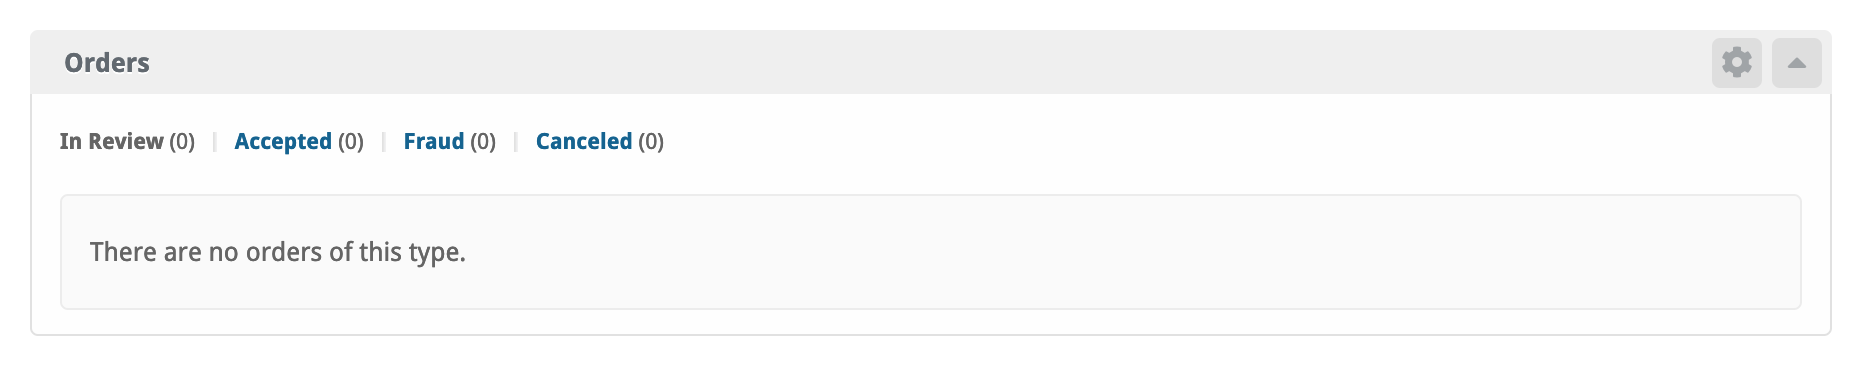
When an affiliate makes a payout request, it can be viewed under Clients > Affiliates > Payouts. Staff can receive an email when an affiliate submits a payout request by subscribing to these notices within the Cog/Gear icon in the Orders widget, which can be found either under Billing > Overview, or the Dashboard.

A listing of all affiliates can be found under Clients > Affiliates > Affiliates.

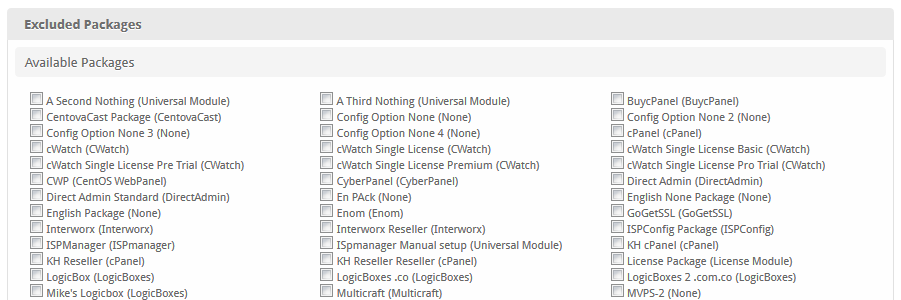
A list of packages to be excluded from payout calculations can be found under Clients > Affiliates >Settings > Excluded Packages. Check the box for a package to exclude it.
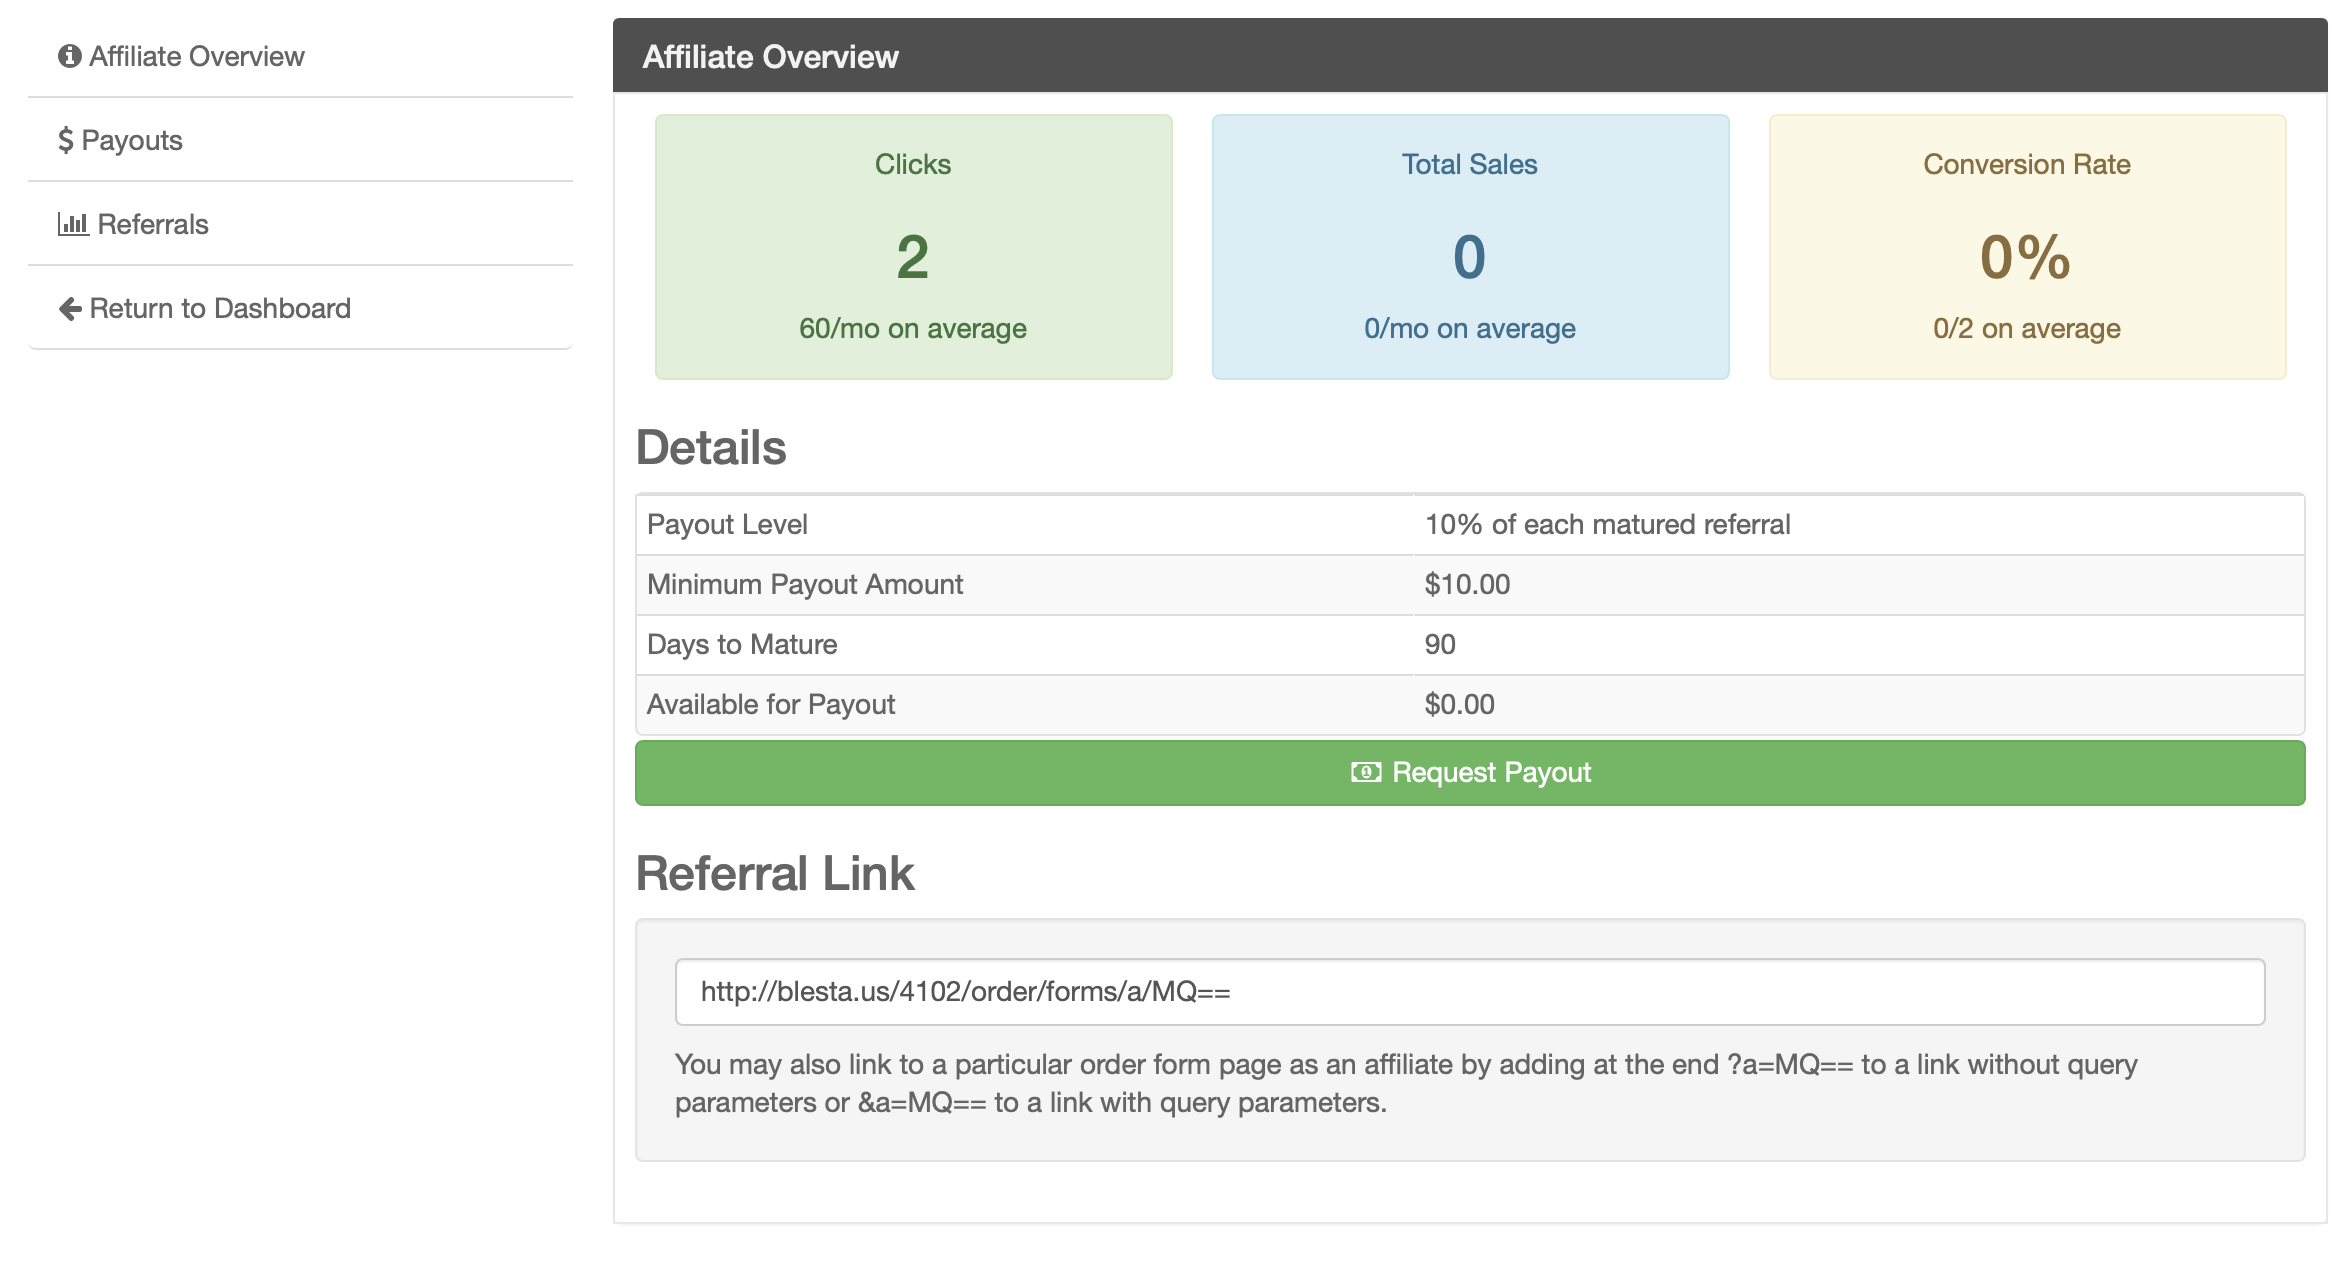
Clients can sign up to be affiliates by clicking the "Affiliates" link in the client area. The client will see the "Signup Content" as defined above when they visit this page, and will be able to sign up as an affiliate.
| Expand | ||
|---|---|---|
| ||
|


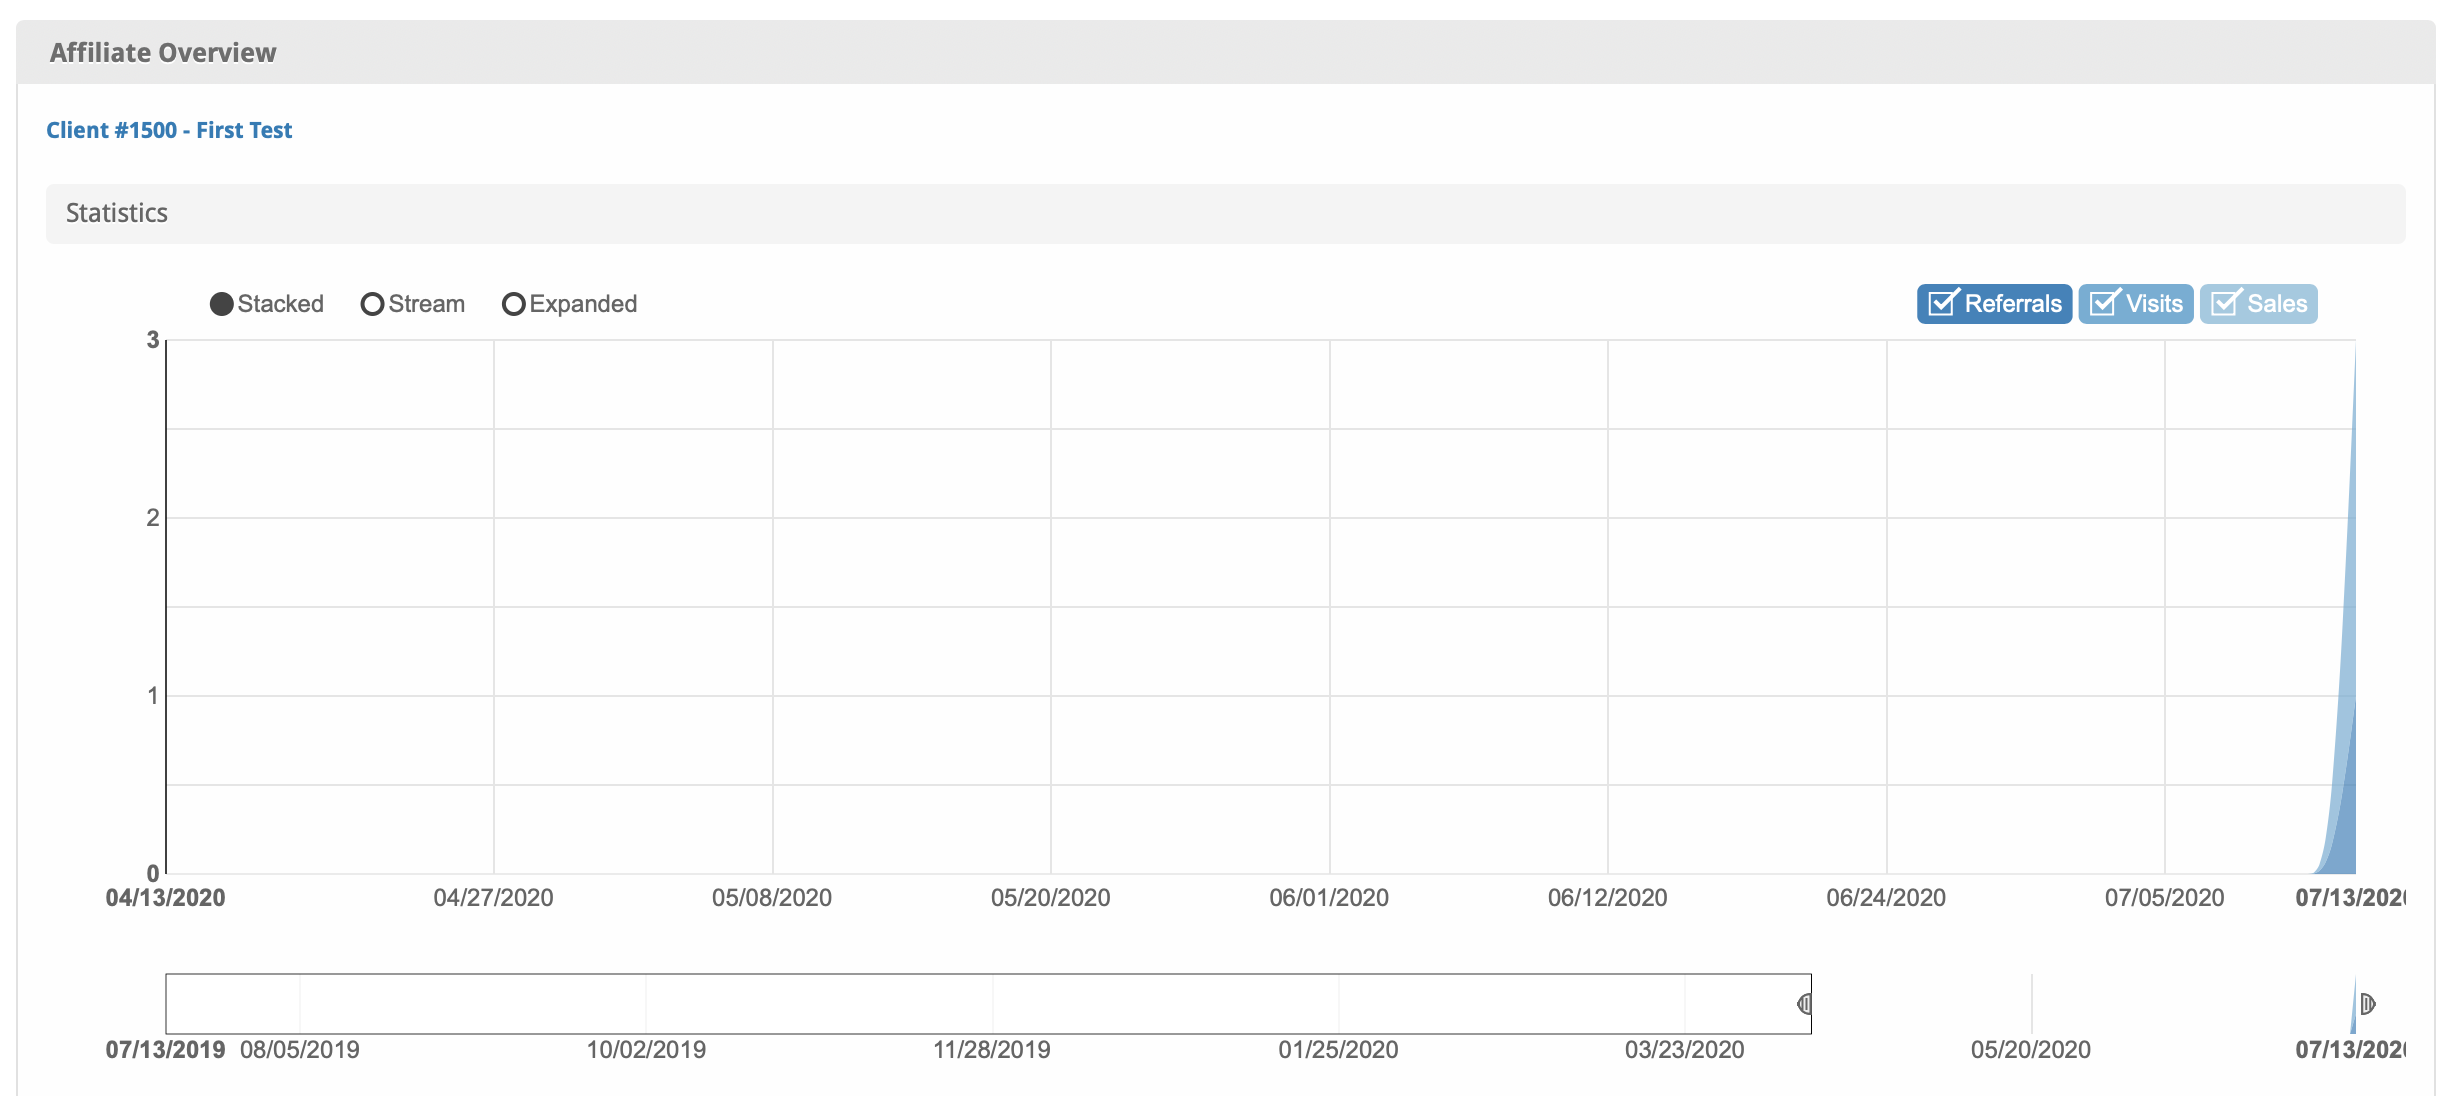
Staff can override the affiliates settings by clicking the "Manage Affiliate" link on the client's profile under Actions, as well as see graph statistics.
| Expand | ||
|---|---|---|
| ||
|

How can I manually adjust an affiliates funds?
Sometimes it's necessary to manually adjust an affiliates funds available for payout. This can be done by editing the database manually (backup first!) and updating the order_affiliate_settings.total_available where order_affiliate_settings.affiliate_id = the affiliate's ID. The affiliate's ID can be found by managing the affiliate, and observing the ID in the URL. a URL ending in "/admin/plugin/order/admin_main/affiliates/1" would indicate an affiliate ID of 1.
Messengers
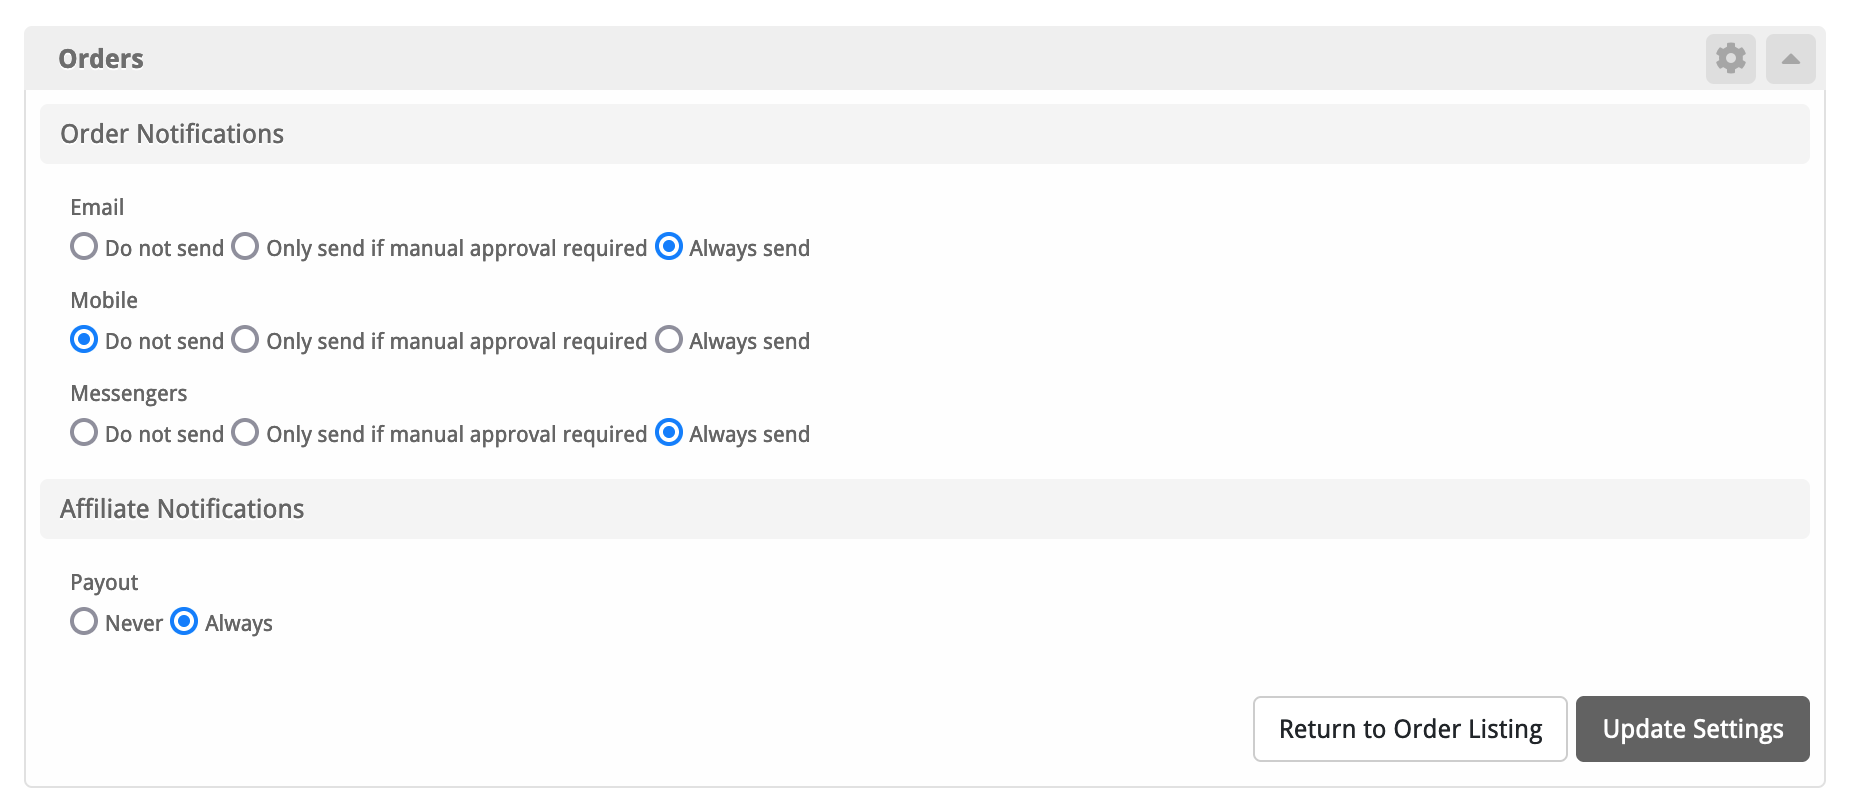
To enable messengers for the Order System, you need to go to Billing, then click the cog/gear on the orders widget. If it's not disabled go to Manage widgets and then drag the Order System plugin to the left. If it's not shown up go to Settings > Company > Plugins > Order System: Install. It should be installed by default on the first company.
You'll be able to enable the messenger by clicking: Always send or Only send if manual approval required.
Common Issues
- reCaptcha always returns "The captcha entered was invalid. Please try again."
- This may be a result of allow_url_fopen being disabled in your PHP config. To confirm, check your Blesta logs for: general.WARNING: E_WARNING: file_get_contents(): https:// wrapper is disabled in the server configuration by allow_url_fopen=0 This directive must be changed for reCaptcha to work properly.
- When a user visits the payment page to pay with PayPal or another non-merchant gateway, they are redirected after 5 seconds without clicking the payment button.
- This redirect is intentional, but if you are using PayPal Subscriptions and there are 2 buttons, users may not have enough time to make a selection before being redirected. To change the time to redirect, edit /plugins/order/views/templates/(wizard/ajax)/javascript/checkout_complete.js and change the value for delay(5000) to the desired value. The number represents milliseconds.
- The summary box in the order form overlaps the footer when I scroll down
- This is likely caused by an custom adjustment to your footer that has increased its height. To compensate you'll need to update plugins/order/views/templates/wizard/config.pdt and change bottomSpacing: 100 to whatever matches the new header height
- This may be a result of allow_url_fopen being disabled in your PHP config. To confirm, check your Blesta logs for: general.WARNING: E_WARNING: file_get_contents(): https:// wrapper is disabled in the server configuration by allow_url_fopen=0 This directive must be changed for reCaptcha to work properly.