...
| Tags | Description | Notes |
|---|---|---|
| {module.ip_address} | The IP address of the server that the service was provisioned on | e.g. "127.0.0.1" |
| {module.port} | The port number to connect on | Default is "8443" |
| {package.type} | The package meta type | Either "standard" or "reseller" |
| {package.plan} | The package meta service plan ID as used in Plesk | e.g. "1" |
| {package.reseller_plan} | The package meta reseller plan ID as used in Plesk | e.g. "1"; This is only available if the type is "reseller" |
| {service.plesk_username} | The service field for the Plesk account username | |
| {service.plesk_password} | The service field for the Plesk account password | |
| {service.plesk_domain} | The service field for the Plesk domain | e.g. "domain.com" |
| {service.plesk_webspace_id} | The service field for the Plesk subscription (webspace) service | e.g. "1" |
Displaying Name Servers in the Welcome Email
The {module.name_servers} tag must be iterated over to display the name servers. Email tag usage is elaborated upon on the Customizing Emails page.
Consider an example where the module has two name servers set, named "ns1.domain.com" and "ns2.domain.com". The following can be added to the email template to output the name servers:
| Code Block |
|---|
{% for name_server in module.name_servers %}
Name server: {name_server}{% endfor %} |
The welcome email will display this as:
| Code Block |
|---|
Name server: ns1.domain.com
Name server: ns2.domain.com |
Group Membership
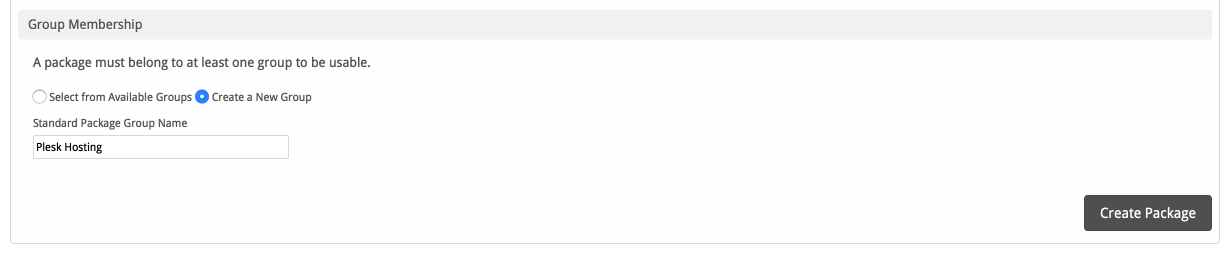
If this is the first Package you are creating with this module, select the "Create a New Group" option, and enter a Group name. If you are adding a subsequent Package and wish for it to be part of the same group, select "Select from Available Groups", and move the group from the right to the left of the multi-select box.
...