...
Namesilo is a popular domain name registrar offering cheap domain names. Learn more about Namesilo on their website at https://namesilo.com/.
Installing NameSilo
- Visit [Settings] > [Company] > [Modules] > Available.
- Click the "Install" button within the NameSilo module listing.

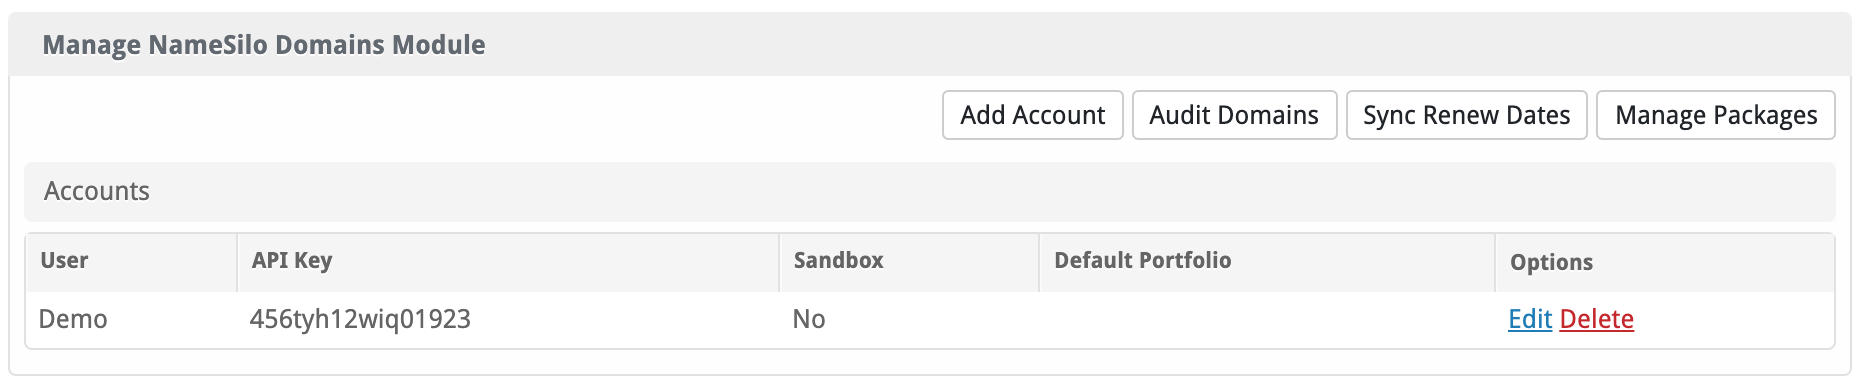
After installation click on Manage to add your NameSilo account.
| Option | Description |
|---|---|
| User | The API User provided by NameSilo. |
| Key | The API key provided by NameSilo. |
| Sandbox | Check to enable sandbox mode. This simulates API requests, it will not register domains. |
| Default Portfolio | Your reference. |
Importing domain TLDs from NameSilo
One of the main features of the NameSilo module which sets it apart from all our other domain modules is the Manage Packages feature.
Firstly we need to create a "Package Group" for the domains so let's do that by going to [Packages] > [Package Groups] and create a package group for all the domains.
We will be using "Domains" in this guide.
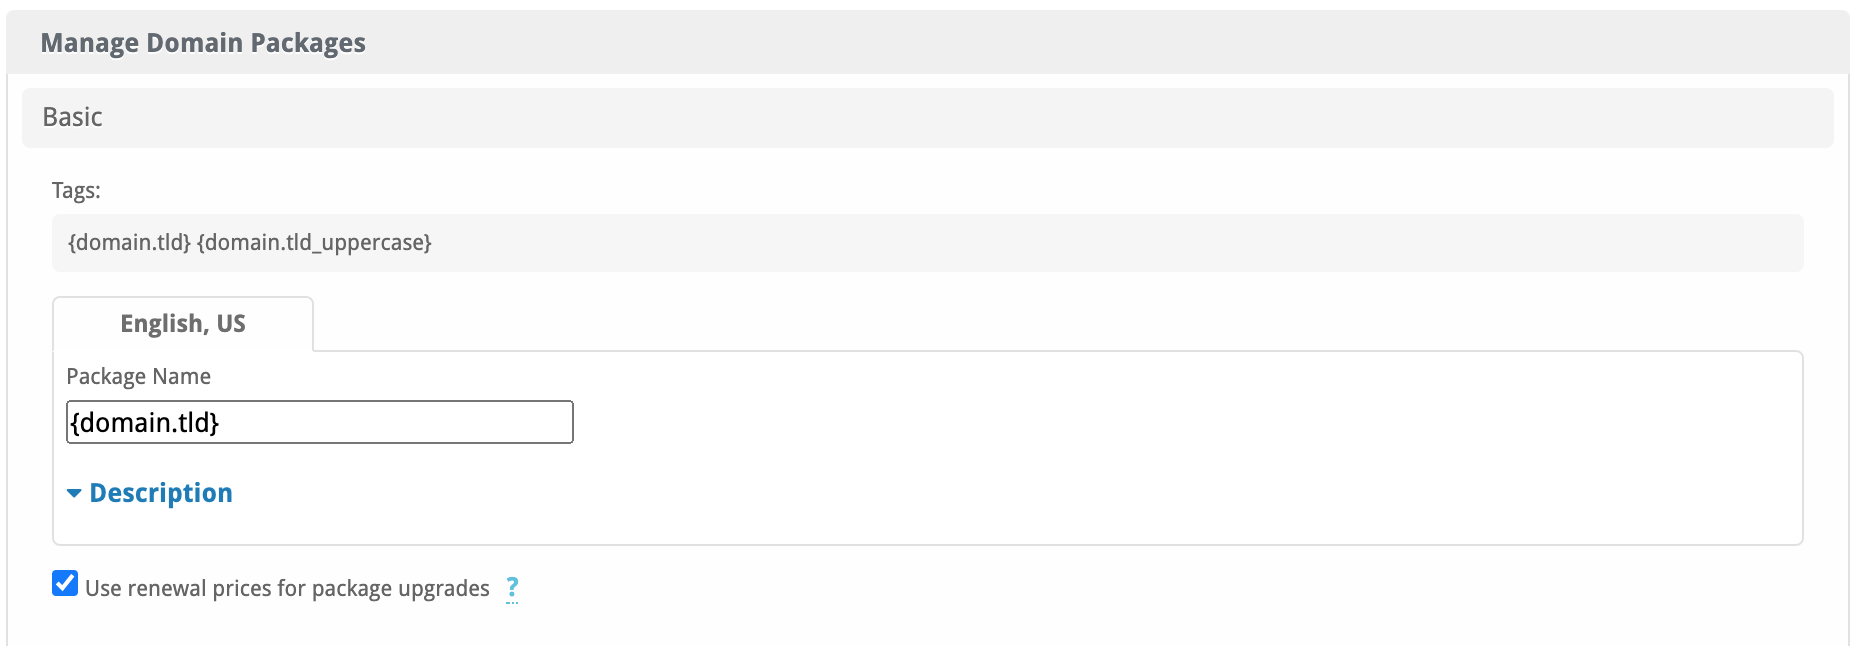
Next we need to go back to the Manage NameSilo page above after installation and click on "Manage Packages".
Option | Description |
|---|---|
| Package Name | Enter a package name, you can use either {domain.tld} ".com" or {domain.tld_uppercase} ".COM" |
| Description | You can write a description about the TLDs. |
| Use renewal prices for package upgrades | When enabled, upgrading to this package will use renewal prices if they are set. The regular price will be used if this setting is disabled. |

| Option | Description |
|---|---|
| Account | If you have multiple accounts for NameSilo select the account to use for these domains. |
| Name Servers | Enter your name servers which the new domains will be set-up with. |
| Option | Description |
|---|---|
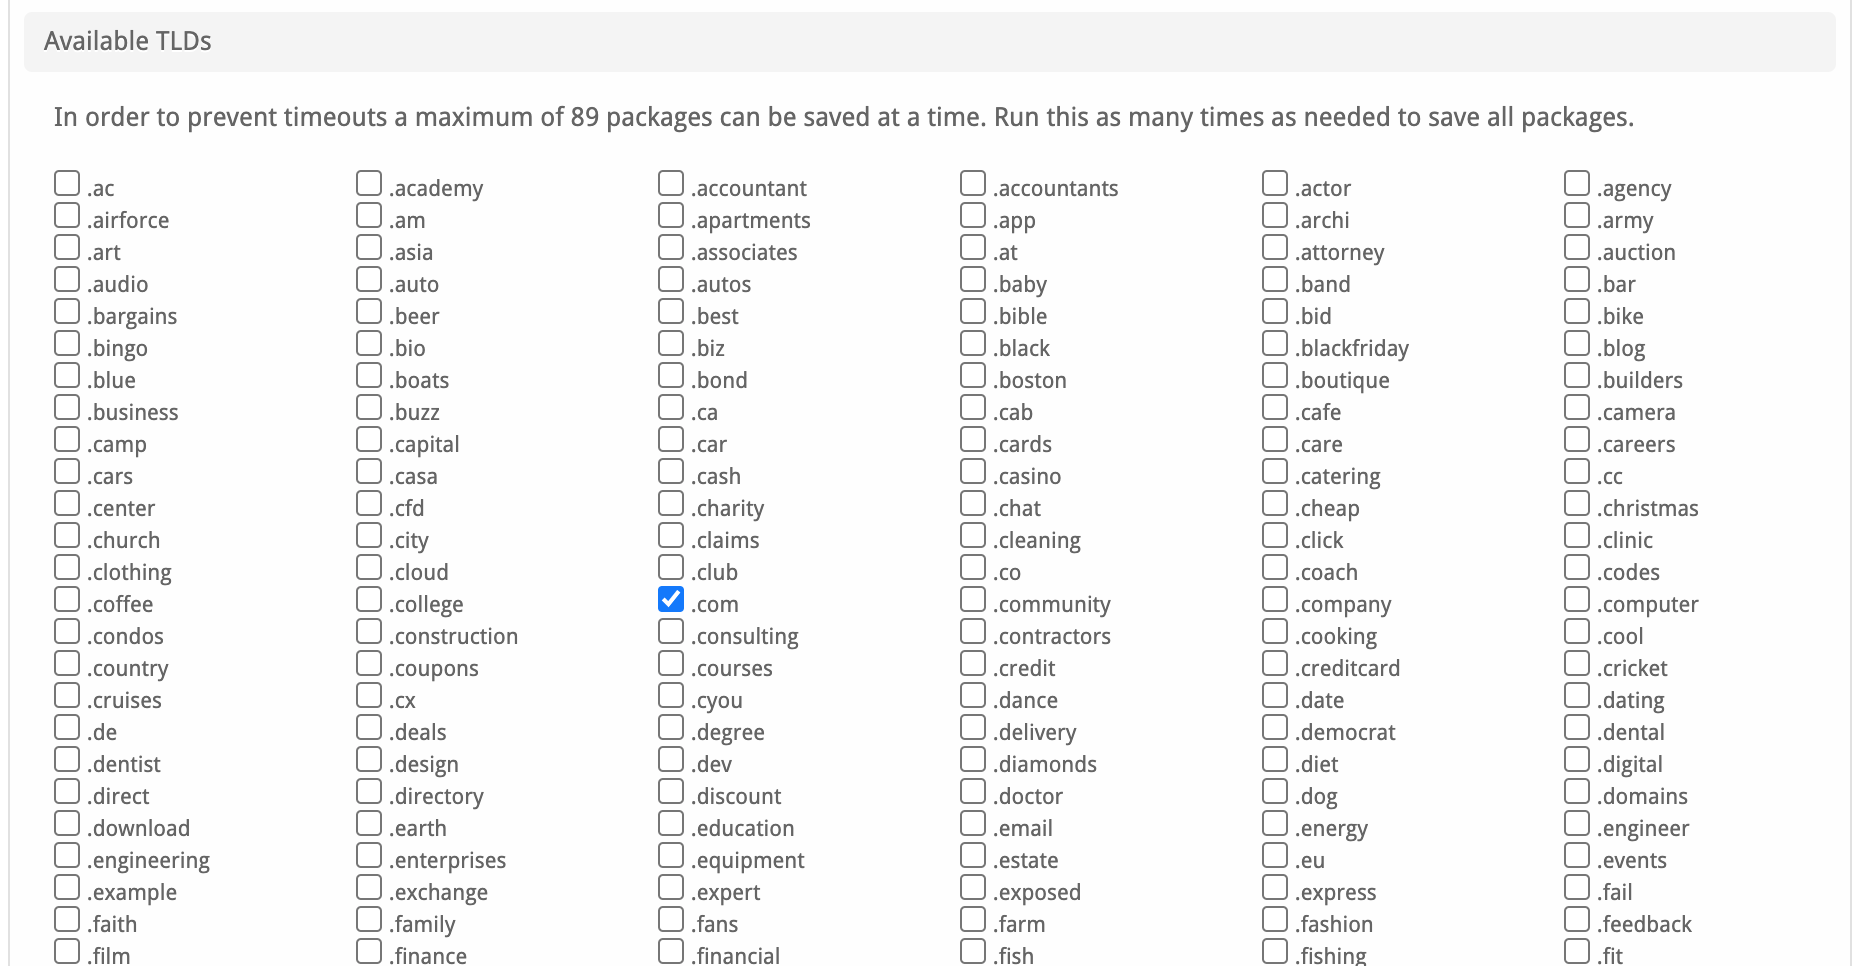
| Available TLDs | Select all the domains you wish to sell, if it's more than 89, pick the 89 first then select the rest as-well. |
| Option | Description |
|---|---|
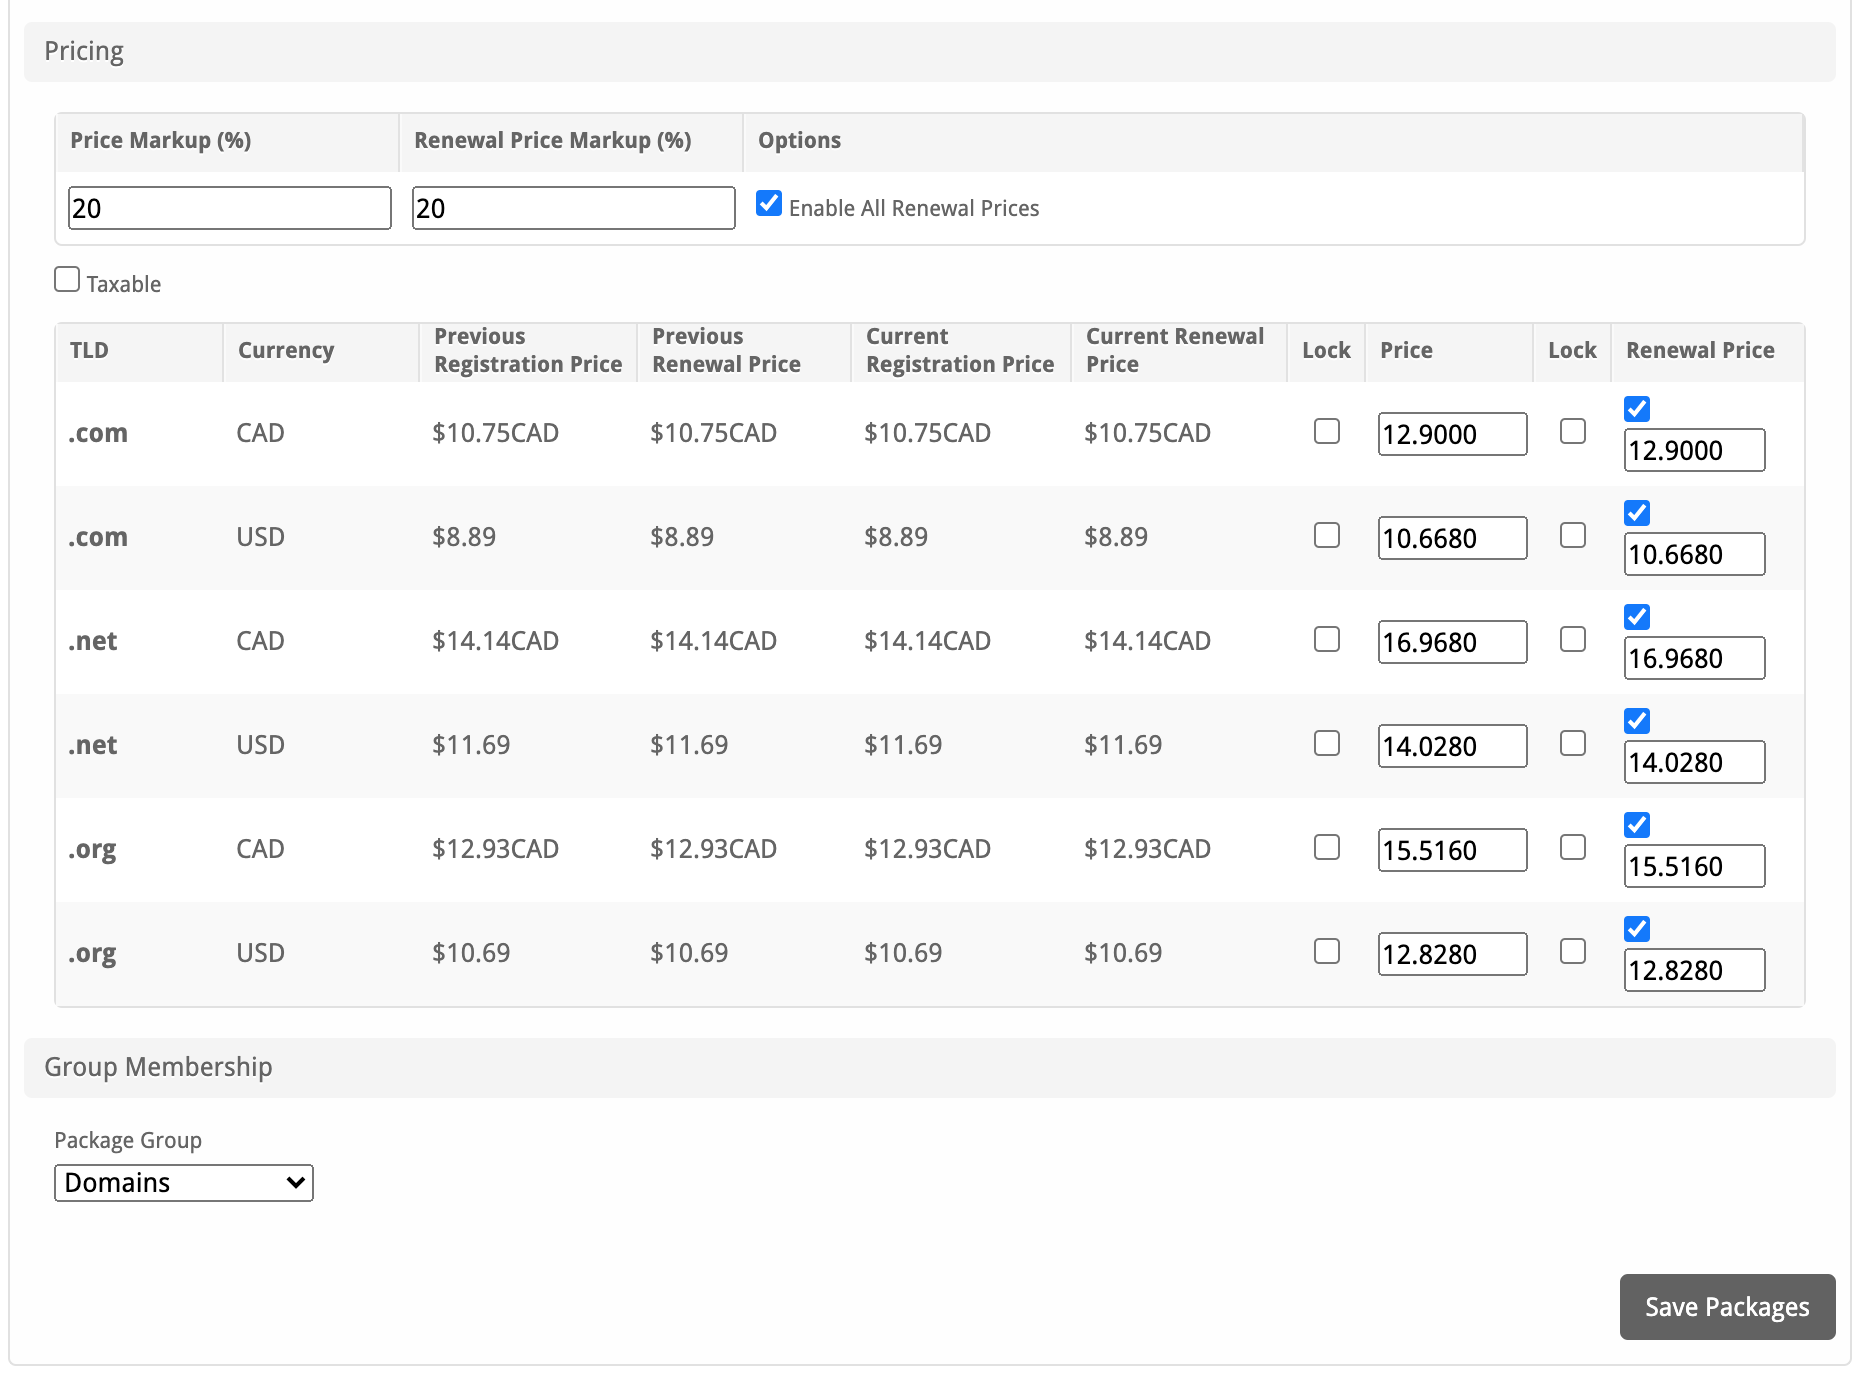
| TLD | Your selected domain TLDs will show up here. |
| Currency | If you have more than one currency in Blesta it will show each currency per TLD for you to pick a price for. |
| Previous Registration price | The previous registration price you was being charged for the TLD |
| Previous Renewal Price | The previous renewal price you was being charged for the TLD |
| Current Registration Price | The current registration price you're being charged for the TLD |
| Current Renewal Price | The current renewal price you're being charged for the TLD |
| Price | The price you want to charge your customers for registering the TLD. |
| Renewal Price | The price you want to charge your customers for renewing the TLD. |
| Lock | Tick this box to lock in the price. |
Finally select the Domain package group you created at the start and hit Save packages. All the packages will be created for you straight away.
Create an order form
The final step is to create the order form where your customers can purchase your domain services. You can create an order form by going to [Packages] > [Order Forms] > [Add Order Form] ![]() .
.
Basic
The Basic section consists of the following options:

| Field Name | Description |
|---|---|
| Status | "Active" is the default, "Inactive" is also available. |
| Order Form Name | Enter the name of this Order Form, it will be visible when visited and if no default order form is selected. |
| Label | Enter the label for the order form this will be the URI the user visits to purchase a product. |
| Description | Enter a Description for this Order Form. HTML is allowed, and descriptions appear above the order forms. |
| Visibility | "Public" is the default, "Shared", and "Client Only" are also available. |
| Type | "General" is the default, however for this guide we need "Domain and Other" selected. |

| Field Name | Description |
|---|---|
| Template | Select the template you would like to use for the domains, if you are selling just the domains General is perfect, otherwise you might want to display the hosting packages in a more modern feel template. |
| Default Client Group | Select the client group the client will be assigned after ordering, this is good if you prefer to group customers depending on the product they first purchase. |
| Allow Coupons | Check the box if you would like coupons to be enabled for this order form, if you won't offer coupons at all you can leave this blank and the field won't show up. |
| Require Manual review and Approval of all orders | Check this box if you would like to manually approve all orders for domains. Otherwise keep it blank and they will be provisioned with the cron job. |
| Force Secure Connection (HTTPS) | Check this box if you wish to force orders for domains to require https://yourdomain.com/ this isn't required if you already force https://. |
| Require Human Verification Challenge for all signups | Check this box if you wish to force customers to pass the human verification challenges when ordering. This can be set under the Settings tab on the order forms section. |
| Require Agreement to Terms of Service | Check this box if you wish to force customers to check the box to accept the terms and conditions please link to the terms and condition in the box below. |
Domain Package Group
The Domain Package Group section consists of the following options:

| Field Name | Description |
|---|---|
| Domain Package Group | Select from the dropdown the main package group for the domains. |
| Package Groups | If you wish to sell hosting as-well as domains you can select the hosting packages by dragging the hosting package groups from right to left. |
Currencies and Gateways
The Currencies and Gateways section consists of the following options:

| Field Name | Description |
|---|---|
| Currencies | Select the currencies which are accepted when a client is ordering a domain. Select as many as you wish. |
| Gateways | Select all the payment gateways you accept when a client is ordering a domain. Select as many as you wish. |
Creating Packages
Welcome Email
The "Tags" section describes tags that may be used in the welcome email. The welcome email content is inserted into the "Service Creation" email template under [Settings] > [Company] > [Emails] > Service Creation. Only details unique to this service should be entered into the welcome email section for the package.
Sample Email
This sample email could be used in the Package Welcome Email section to help you get started. Be sure to enter content for your welcome email in both the HTML and Text sections.
| No Format | ||
|---|---|---|
Your new domain has been successfully registered!

Domain: {service.DomainName}

Thank you for your business! | ||
| Info | ||
| ||
| Documentation required for this module. |